
Cut Settings For Silhouette Printable Vinyl: A Beginner's Guide
Understanding Cut Settings
Cutting Silhouette printable vinyl can be a bit tricky, especially for beginners. With so many cut settings to choose from, it's easy to get overwhelmed. However, with the right guidance, you can achieve professional-looking results. In this article, we'll explore the best cut settings for Silhouette printable vinyl and provide you with some valuable tips and tricks to get you started.
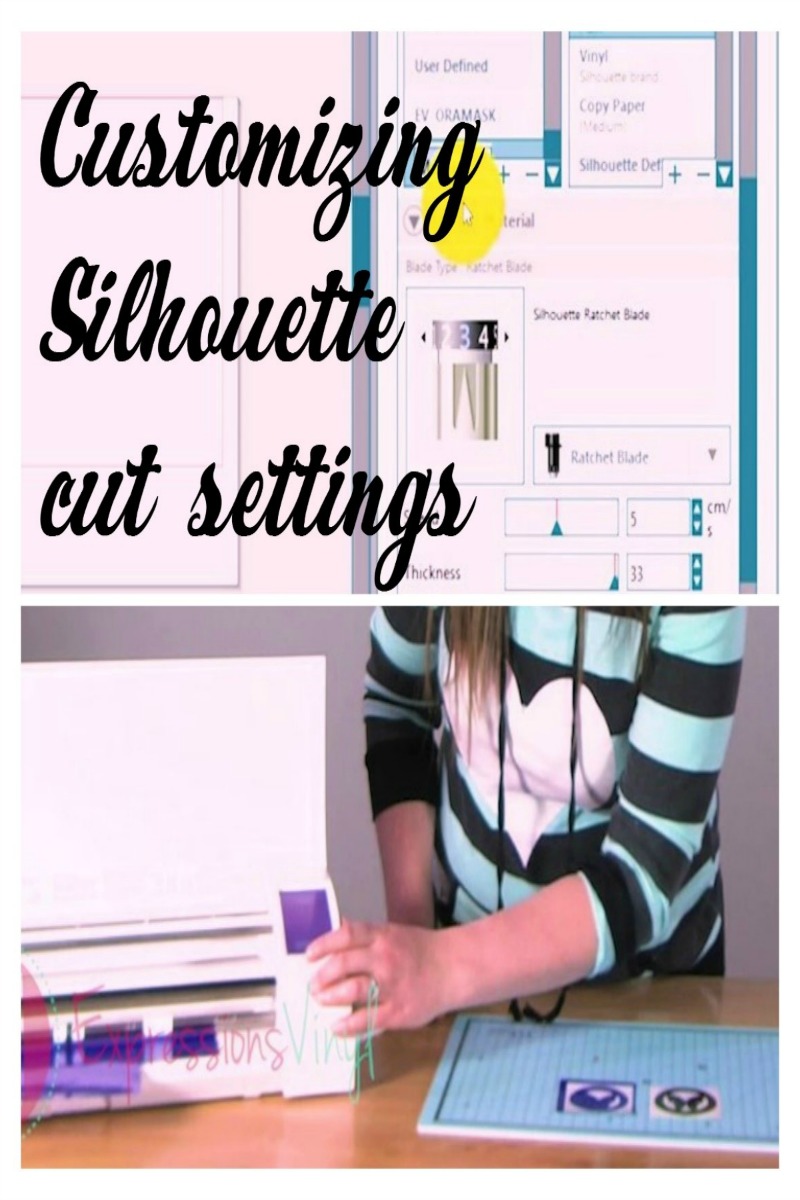
The first step to cutting Silhouette printable vinyl is to understand the different cut settings. The Silhouette machine comes with a range of settings, including blade depth, force, and speed. The blade depth refers to how far the blade extends from the machine, while the force refers to how much pressure the blade applies to the vinyl. The speed setting determines how fast the machine cuts the vinyl. By adjusting these settings, you can achieve the perfect cut for your project.
Tips and Tricks for Cutting Silhouette Printable Vinyl
When it comes to cutting Silhouette printable vinyl, the key is to find the right balance between blade depth, force, and speed. A good starting point is to set the blade depth to 2-3, the force to 10-15, and the speed to 5-10. However, these settings may vary depending on the type of vinyl you're using and the complexity of your design. It's always a good idea to do a test cut before cutting your actual project to ensure the settings are correct.
To get the best results when cutting Silhouette printable vinyl, make sure to use a high-quality vinyl and a sharp blade. It's also important to keep your machine clean and well-maintained to prevent any issues with the cut. Additionally, use a cutting mat to prevent the vinyl from moving around during the cutting process. By following these tips and using the right cut settings, you can achieve professional-looking results and take your crafting projects to the next level.