
Change Image Color in Illustrator: A Step-by-Step Guide

Understanding Color Modes
Changing the color of an image in Adobe Illustrator can seem like a daunting task, especially for beginners. However, with the right tools and techniques, you can easily modify the colors of your images to suit your design needs. In this article, we'll walk you through the simple steps to change the color of an image in Illustrator.
Before you start, it's essential to understand the different color modes available in Illustrator. The software supports various color modes, including RGB, CMYK, and grayscale. Each mode has its unique characteristics, and choosing the right one depends on your intended use of the image. For example, if you're designing for web, you'll want to use RGB, while CMYK is suitable for print.
Applying Color Changes
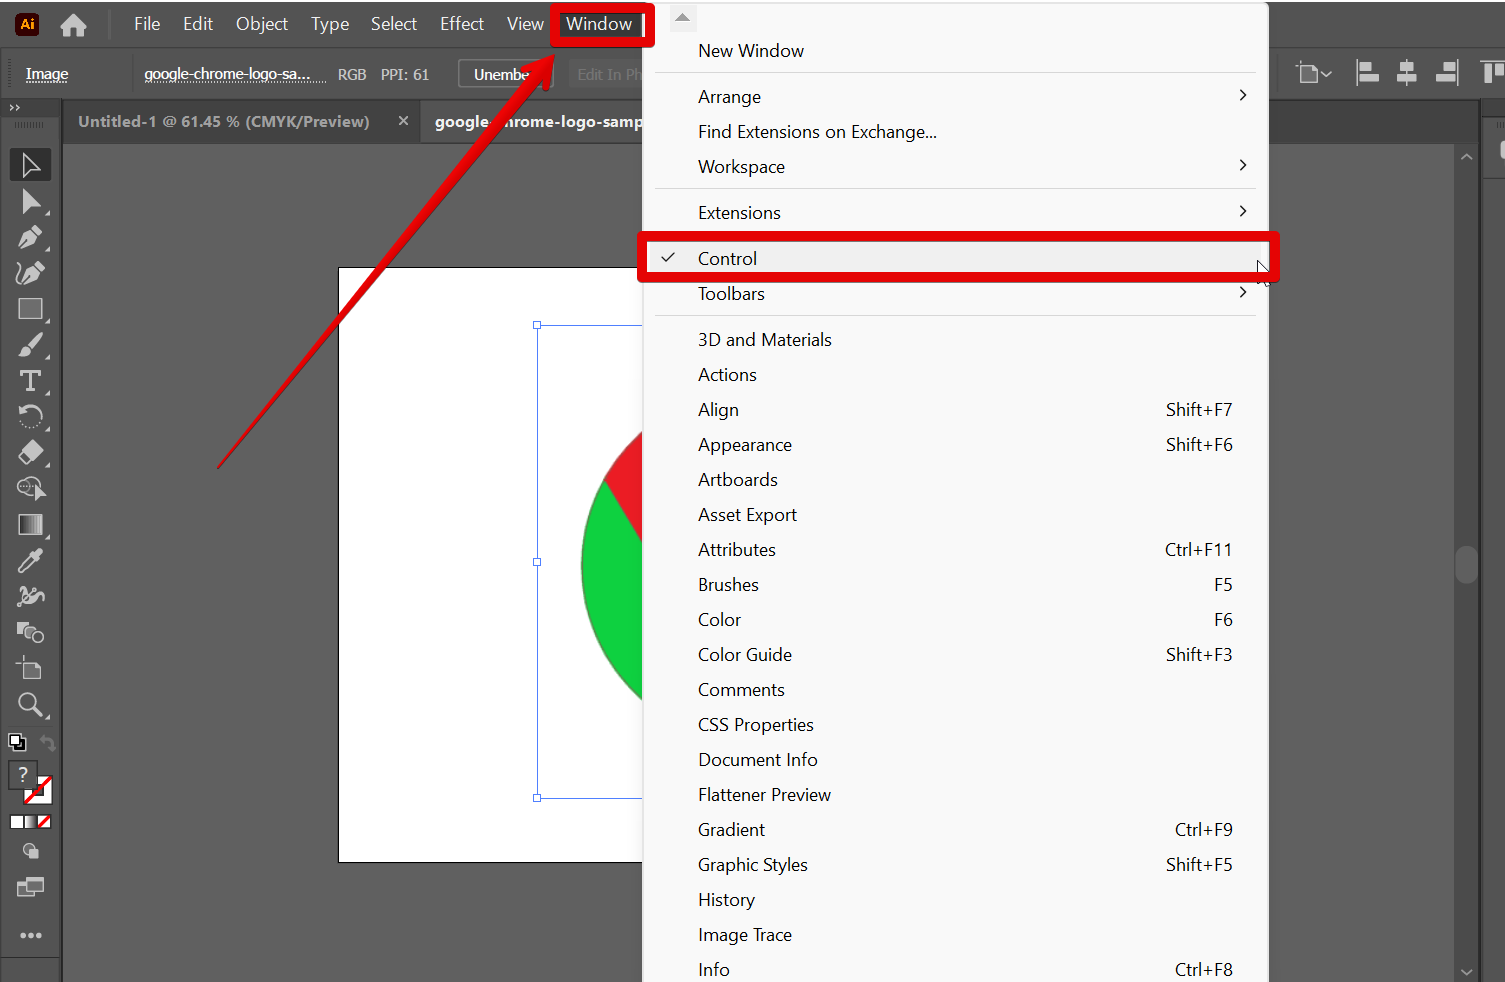
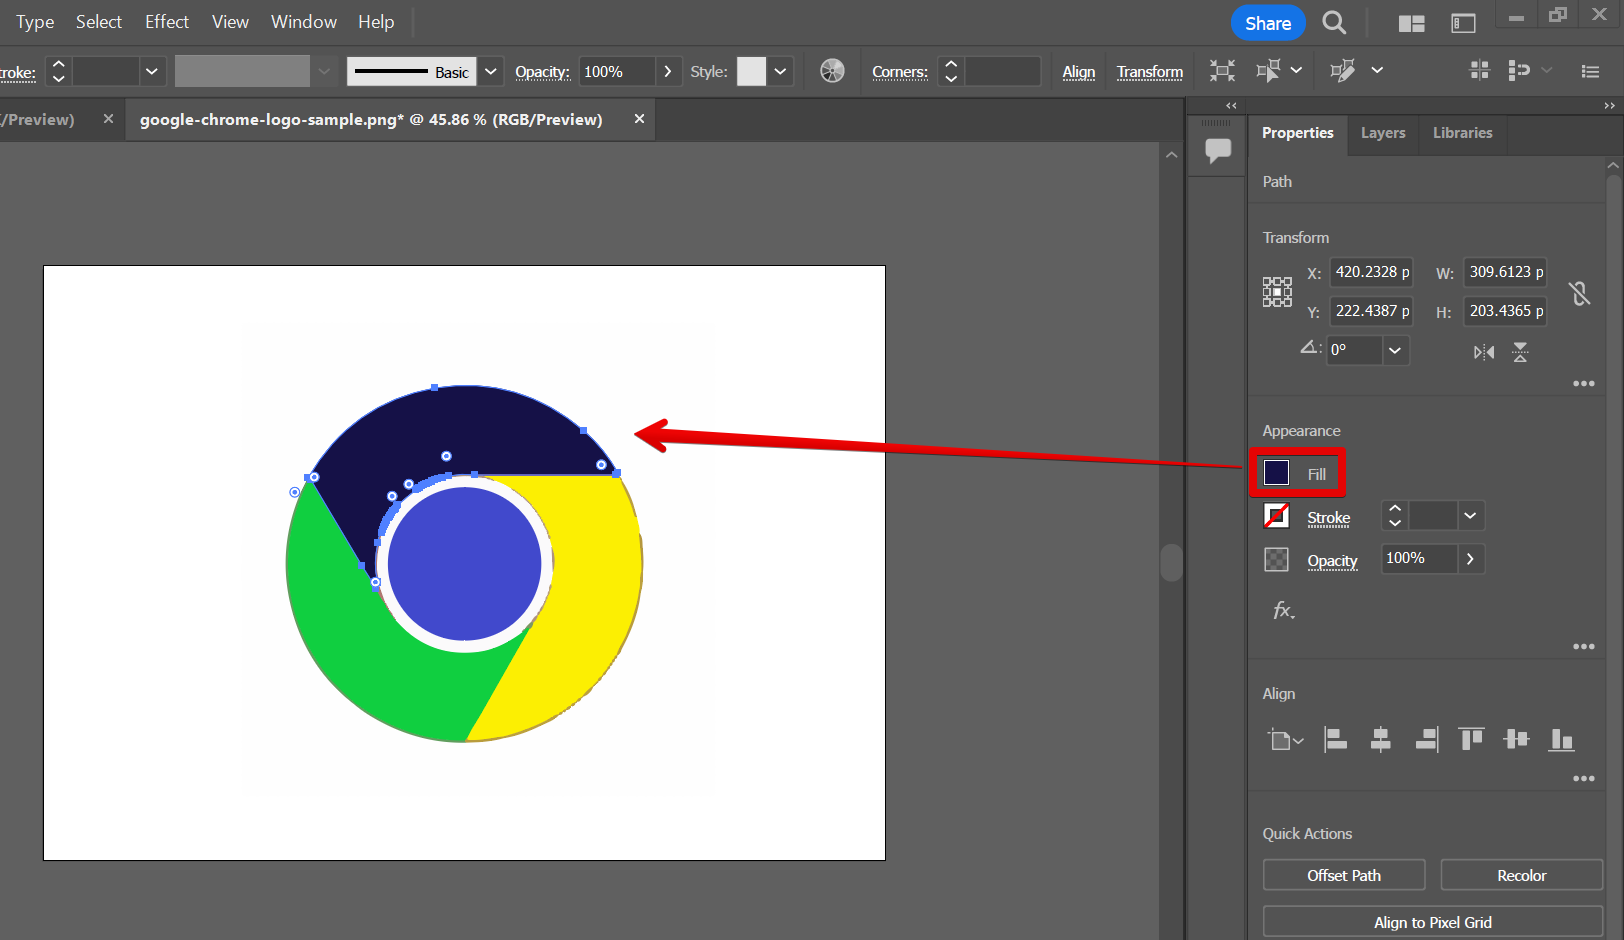
To change the color of an image, you'll need to use the 'Edit Colors' option in Illustrator. This feature allows you to modify the colors of your image using various methods, including adjusting the brightness, contrast, and saturation. You can also use the 'Recolor Artwork' option to change the entire color scheme of your image. This option is particularly useful when you want to give your image a completely new look.
Once you've selected the 'Edit Colors' option, you can start applying the changes to your image. You can use the 'Color Palette' to choose from a range of pre-defined colors or create your own custom colors using the 'Color Picker' tool. With these simple steps, you can easily change the color of an image in Illustrator and take your designs to the next level. Whether you're a beginner or an experienced designer, mastering the art of color modification in Illustrator can help you create stunning visuals that capture your audience's attention.