
How to Create a Calendar in PowerPoint: A Step-by-Step Guide
Getting Started with Your PowerPoint Calendar
Creating a calendar in PowerPoint is a great way to stay organized and add a personal touch to your scheduling. Whether you're looking to create a calendar for personal use or for a business, PowerPoint offers a range of tools and features to help you get started. With its user-friendly interface and customizable templates, you can create a calendar that meets your specific needs and preferences.
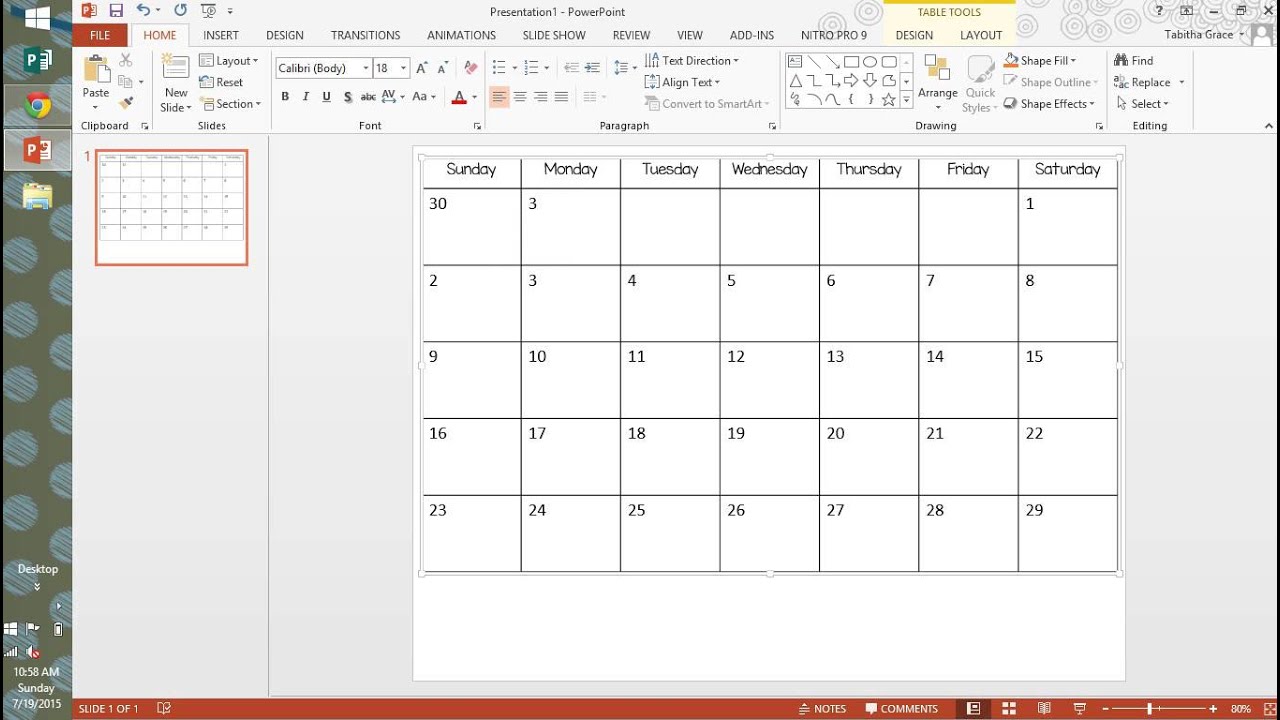
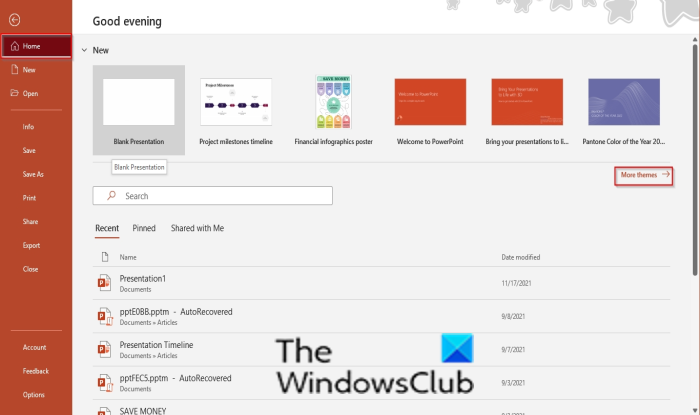
To begin creating your calendar, open PowerPoint and select a new blank presentation. Choose a layout that suits your needs, such as a grid or table, and start designing your calendar. You can add dates, days of the week, and other relevant information to your calendar, and use PowerPoint's formatting tools to customize the look and feel of your calendar.
Customizing Your Calendar for a Professional Look
When it comes to creating a calendar in PowerPoint, the possibilities are endless. You can choose from a range of colors, fonts, and images to make your calendar visually appealing. You can also add photos, graphics, and other multimedia elements to make your calendar more engaging. With PowerPoint's built-in tools, you can create a calendar that is both functional and aesthetically pleasing.
Once you've created the basic structure of your calendar, you can start customizing it to give it a professional look. You can add your company's logo, change the color scheme, and use PowerPoint's formatting tools to create a consistent look and feel throughout your calendar. You can also add important dates, such as holidays and deadlines, to your calendar to make it more useful and relevant to your needs.