
How To Create A Calendar In Word 2010
Step-by-Step Instructions
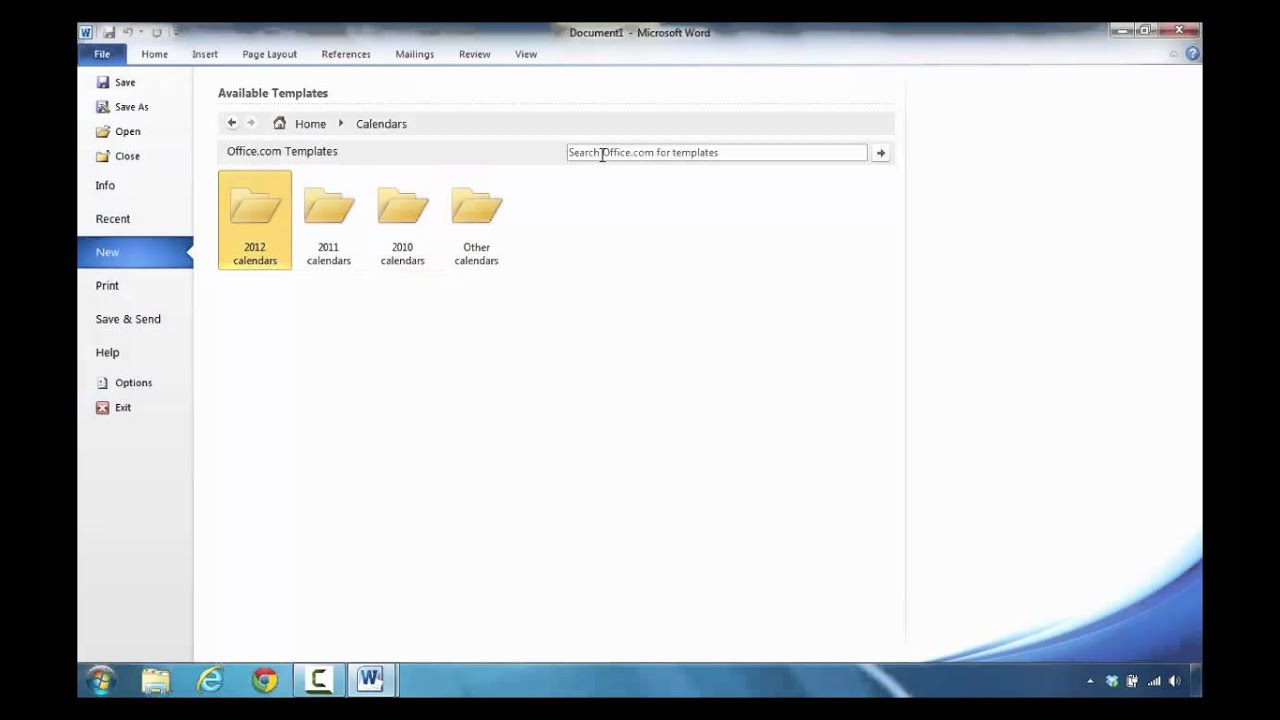
Creating a calendar in Word 2010 is a straightforward process that can be completed in a few steps. To start, open Microsoft Word 2010 and click on the 'File' tab. From the drop-down menu, select 'New' to create a new document. In the search box, type 'calendar' and press enter. This will bring up a variety of calendar templates that you can use as a starting point for your custom calendar.
To create a calendar from scratch, click on the 'Blank Document' option and then select the 'Table' tab from the ribbon. From here, you can create a table with the desired number of rows and columns to form the basis of your calendar. You can then add dates, days of the week, and any other relevant information to each cell in the table.
Customizing Your Calendar
Step-by-Step Instructions: Once you have created your table, you can customize it to fit your needs. You can add headers and footers, change the font and color scheme, and even add images or graphics to make your calendar more visually appealing. You can also use the 'Merge Cells' feature to combine cells and create a more complex layout.
Customizing Your Calendar: Finally, you can save your calendar as a Word document or print it out on paper. You can also share it with others via email or by uploading it to a shared drive. With these simple steps, you can create a custom calendar in Word 2010 that meets your specific needs and preferences. Whether you need a calendar for personal or professional use, Word 2010 makes it easy to create a high-quality calendar that is both functional and visually appealing.