How to Create a Calendar Template in Pages
Getting Started with Pages
Creating a calendar template in Pages is a straightforward process that can be completed in a few simple steps. To get started, open Pages and select the 'Template' option from the start page. From here, you can choose from a variety of pre-designed templates, including calendars. However, if you want to create a custom calendar template from scratch, select the 'Blank' template option.
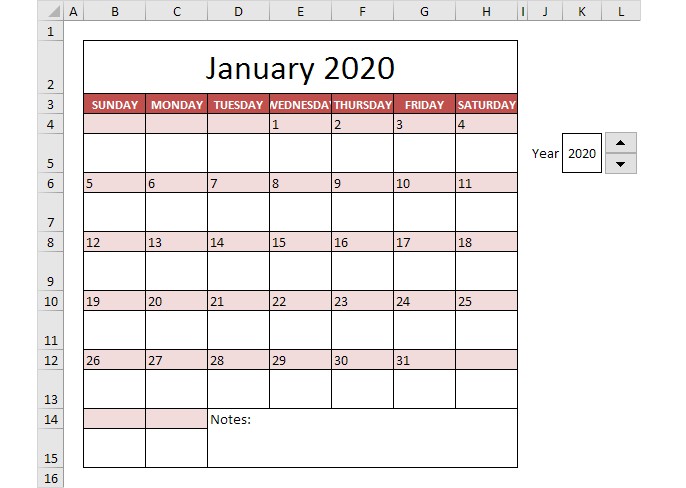
Once you have selected your template, you can begin designing your calendar. Start by setting up the basic layout of your calendar, including the days of the week and the dates. You can use the table tool in Pages to create a grid that will serve as the foundation of your calendar. Simply select the 'Table' option from the toolbar, choose the number of rows and columns you need, and begin filling in the dates.
Customizing Your Calendar Template
Now that you have the basic layout of your calendar set up, you can start customizing it to fit your needs. You can add colors, fonts, and images to make your calendar more visually appealing. You can also add important dates, such as holidays and appointments, to your calendar. To do this, simply click on the date you want to add an event to and type in the details.
Finally, once you have completed your calendar template, you can save it and use it as needed. You can also share your template with others, either by emailing it to them or by uploading it to a cloud storage service. With Pages, creating a custom calendar template is easy and fun, and can be a great way to stay organized and on top of your schedule. By following these simple steps, you can create a calendar template that meets your unique needs and helps you stay on track throughout the year.