
A Step-by-Step Guide to Cutting Cursive Letters on Cricut
Preparing Your Cricut Machine for Cursive Cutting
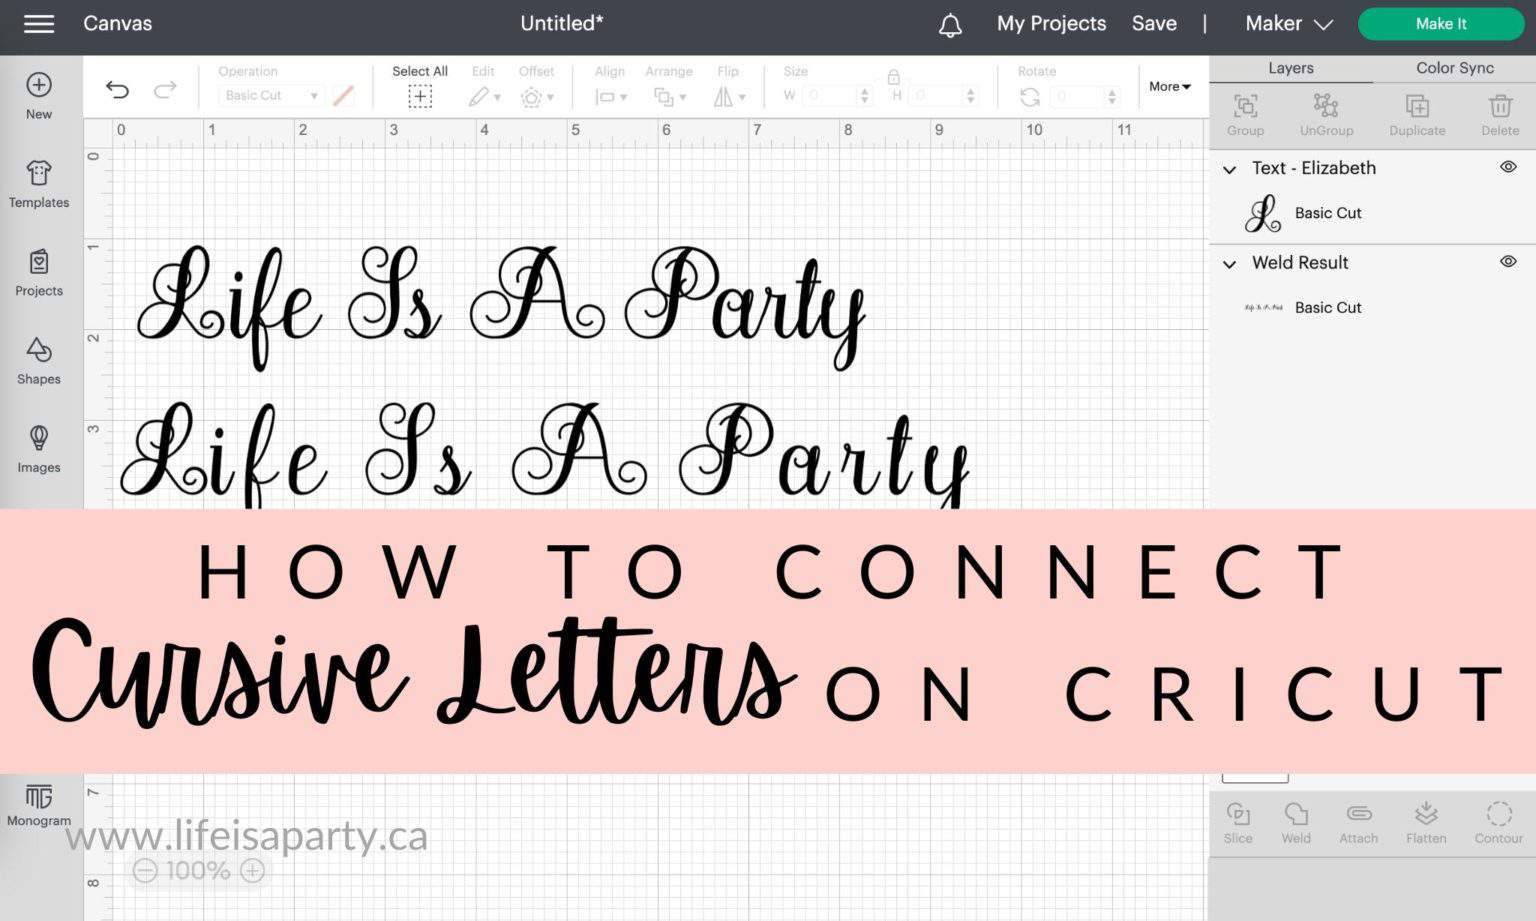
Cutting cursive letters on a Cricut machine can be a fun and creative way to add a personal touch to your projects. Whether you're making a custom sign, a birthday card, or a decorative wall art, cursive letters can add an extra layer of elegance and sophistication. However, cutting cursive letters can be a bit tricky, especially if you're new to using a Cricut machine. In this article, we'll show you how to cut cursive letters on Cricut with ease.
To get started, you'll need to prepare your Cricut machine for cursive cutting. This involves selecting the right font, adjusting the settings, and choosing the right material. For cursive letters, it's best to use a font that is specifically designed for cursive writing, such as a script or handwriting font. You can find a wide range of cursive fonts in the Cricut Design Space, or you can upload your own font to the machine.
Tips and Tricks for Cutting Cursive Letters Like a Pro
Once you've selected your font and adjusted the settings, you're ready to start cutting. To ensure that your cursive letters cut smoothly and accurately, make sure to use a high-quality blade and a suitable material. For example, you can use vinyl, iron-on, or paper to cut out your cursive letters. It's also important to adjust the pressure and speed of the machine according to the material you're using. Tips and Tricks for Cutting Cursive Letters Like a Pro
With a little practice and patience, you can master the art of cutting cursive letters on Cricut. Remember to always use a high-quality blade and a suitable material, and adjust the settings according to the material you're using. You can also experiment with different fonts and styles to create unique and personalized designs. Whether you're a seasoned crafter or a beginner, cutting cursive letters on Cricut can be a fun and rewarding experience that adds a personal touch to your projects.