How To Make 3D Files Printable: A Beginner's Guide
Preparing Your 3D Model
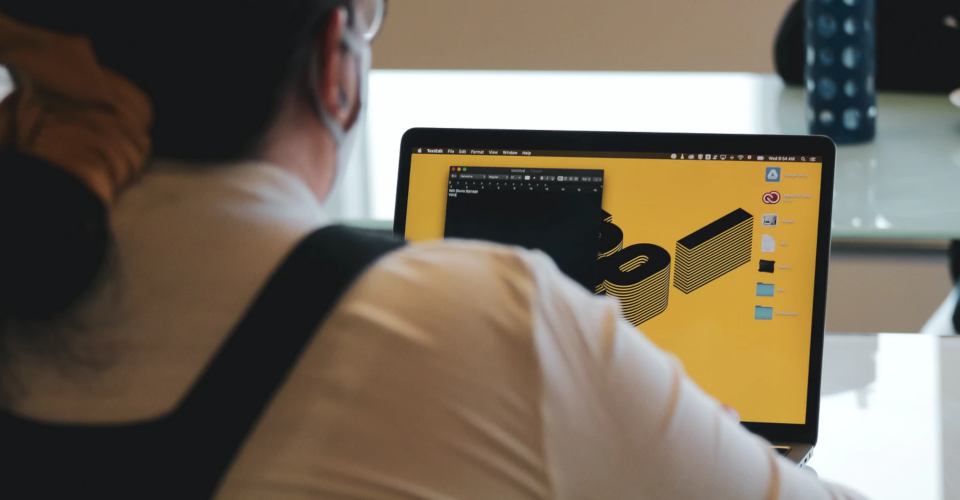
Creating 3D printable files can be a daunting task, especially for beginners. However, with the right guidance, you can easily prepare your 3D models for printing. The first step is to ensure that your 3D model is in a printable format. Most 3D printing software accepts STL or OBJ files, so make sure to save your model in one of these formats. Additionally, it's essential to check your model for any errors or inconsistencies that could affect the printing process.
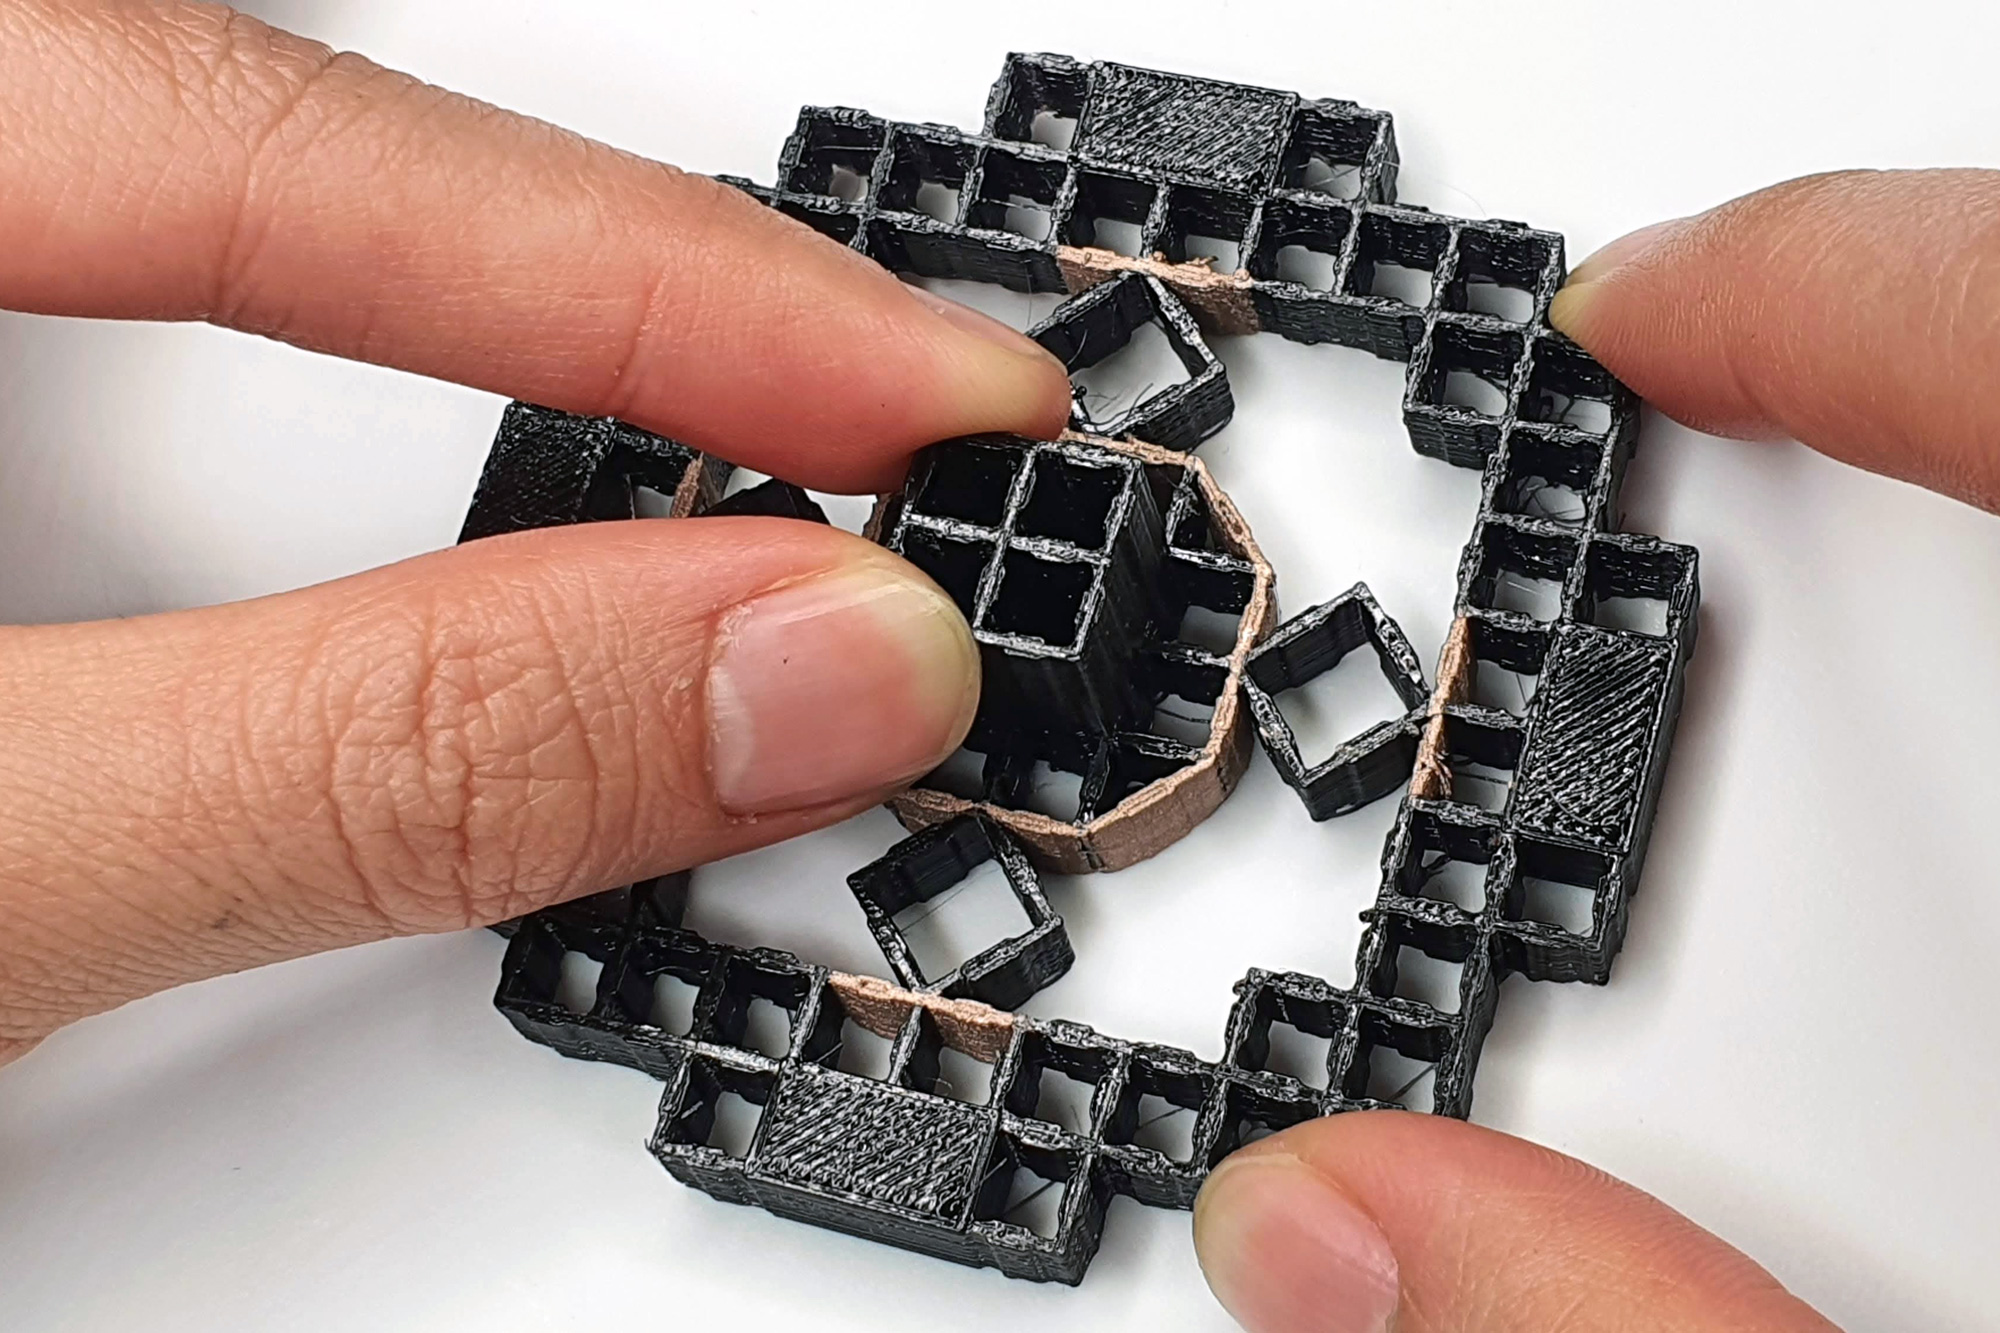
When preparing your 3D model, it's crucial to consider the printing technology you'll be using. Different printing technologies have varying requirements, such as layer thickness, infill density, and support material. For example, Fused Deposition Modeling (FDM) printers require a different setup than Stereolithography (SLA) printers. Understanding these requirements will help you optimize your model for the best possible print results.
Optimizing for Printability
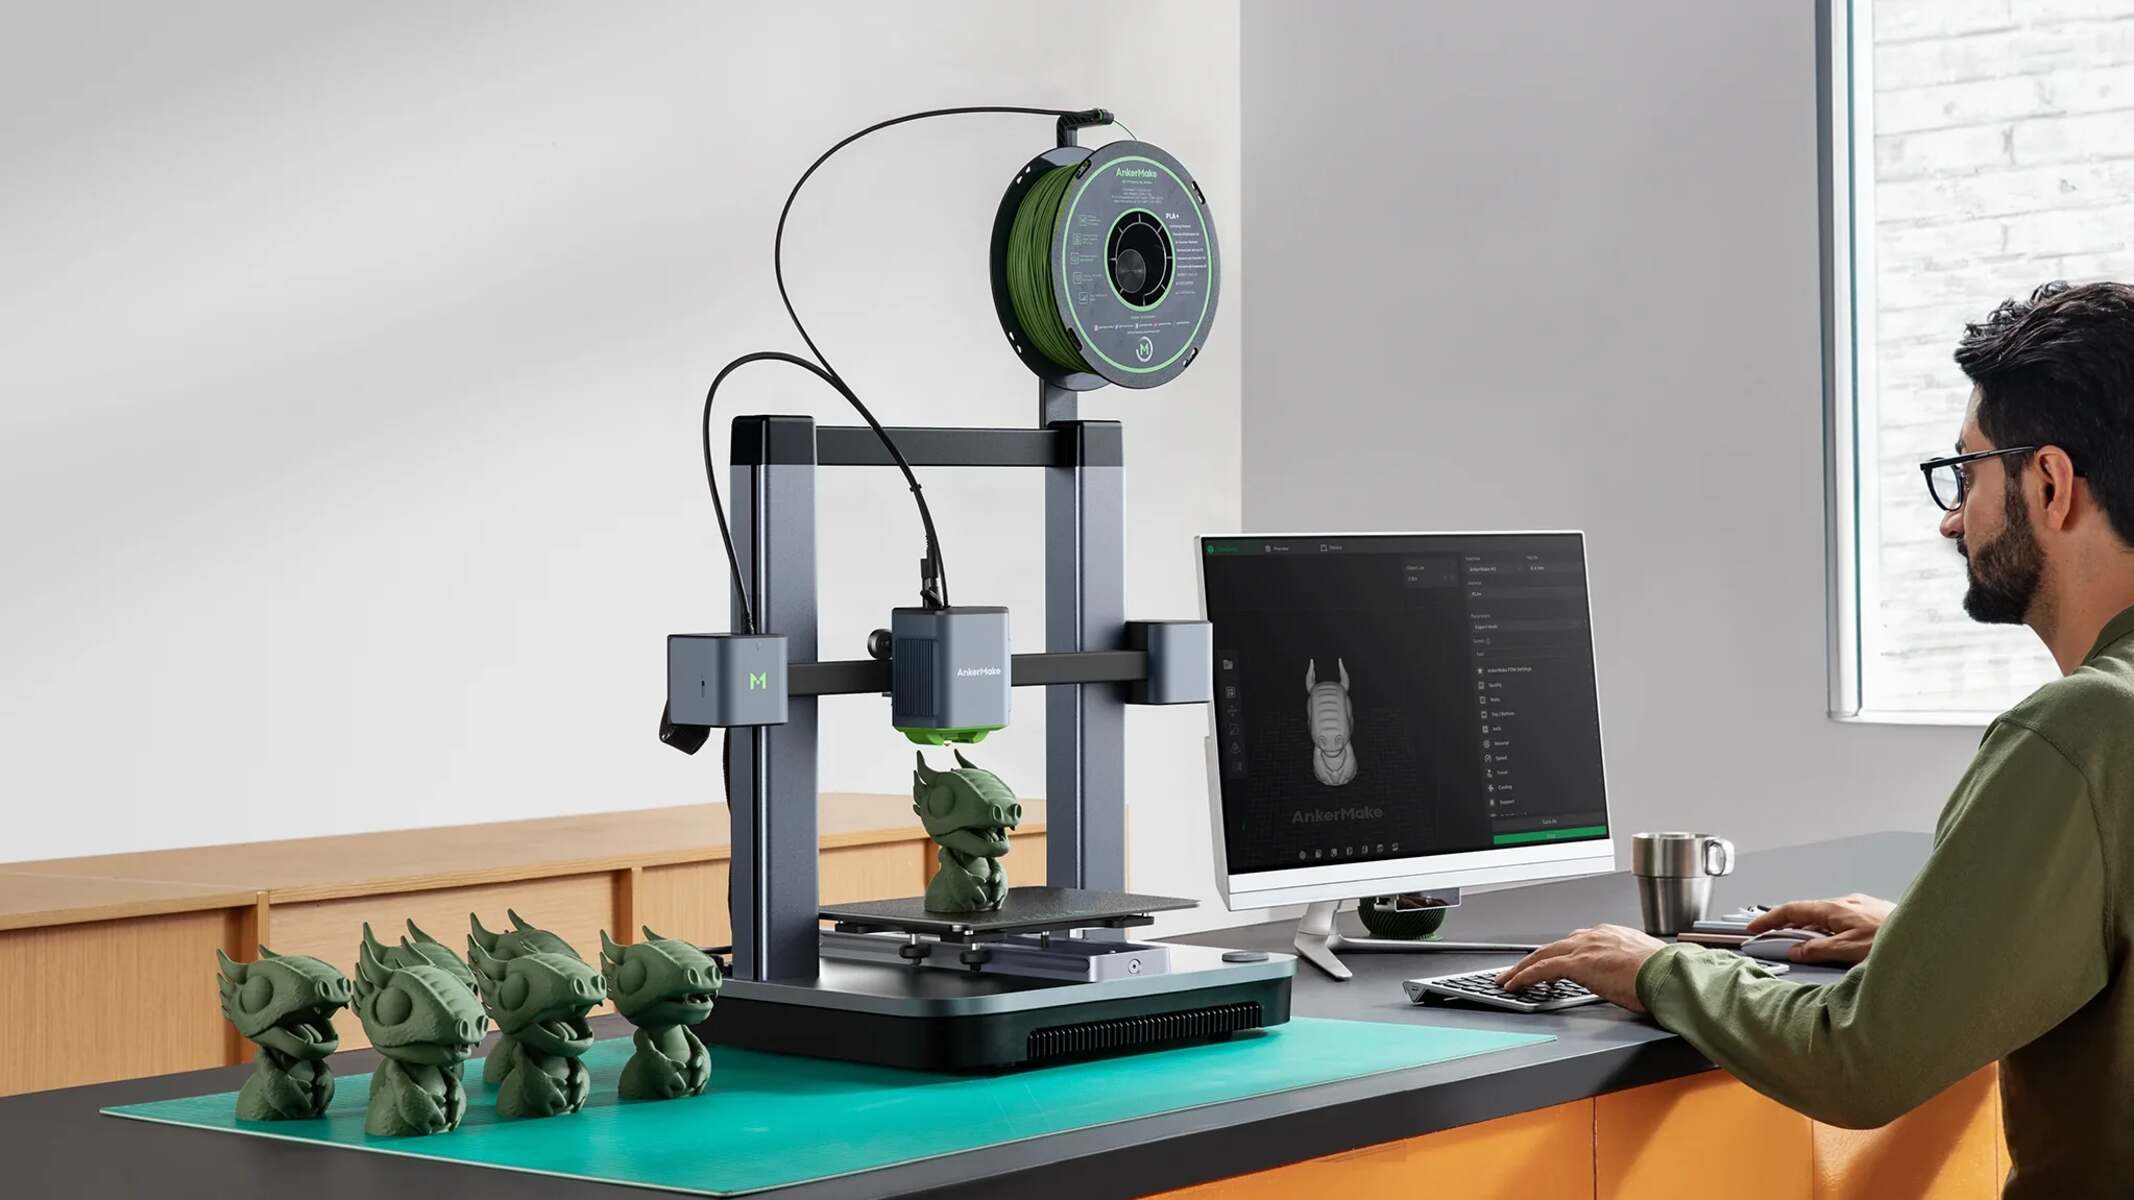
To make your 3D file printable, you'll need to use specialized software to repair and optimize your model. There are several tools available, including MeshLab, Meshmixer, and Netfabb. These tools allow you to fix errors, remove unnecessary geometry, and optimize your model's structure for printing. You can also use online platforms, such as MyMiniFactory or GrabCAD, to download pre-made 3D models or share your own designs with the community.
Once you've prepared and optimized your 3D model, it's time to export it as a printable file. Make sure to choose the correct settings, such as layer thickness and infill density, to ensure a successful print. You can also use slicing software, like Cura or Slic3r, to generate the G-code necessary for printing. With these steps and tools, you'll be able to create high-quality 3D printable files and bring your designs to life.