How to Make Index Cards in Word: A Step-by-Step Guide


Creating a New Document for Index Cards
Index cards are a great tool for studying, note-taking, and organization. They can help you to break down large amounts of information into smaller, more manageable chunks, and to review material quickly and easily. While you can buy index cards at most office supply stores, you can also create your own using Microsoft Word. In this article, we will show you how to make index cards in Word.
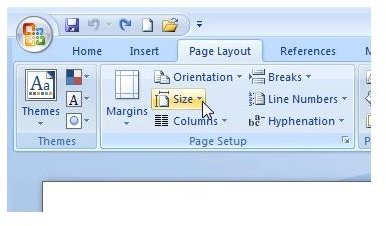
To get started, open Microsoft Word and create a new document. You can do this by clicking on the 'File' menu and selecting 'New', or by pressing Ctrl+N on your keyboard. Once you have created a new document, you will need to set up the page layout to accommodate your index cards. You can do this by clicking on the 'Layout' tab and selecting 'Page Setup'. In the Page Setup dialog box, select 'Index Card' from the 'Paper Size' dropdown menu, and set the 'Orientation' to 'Portrait'.
Customizing Your Index Cards
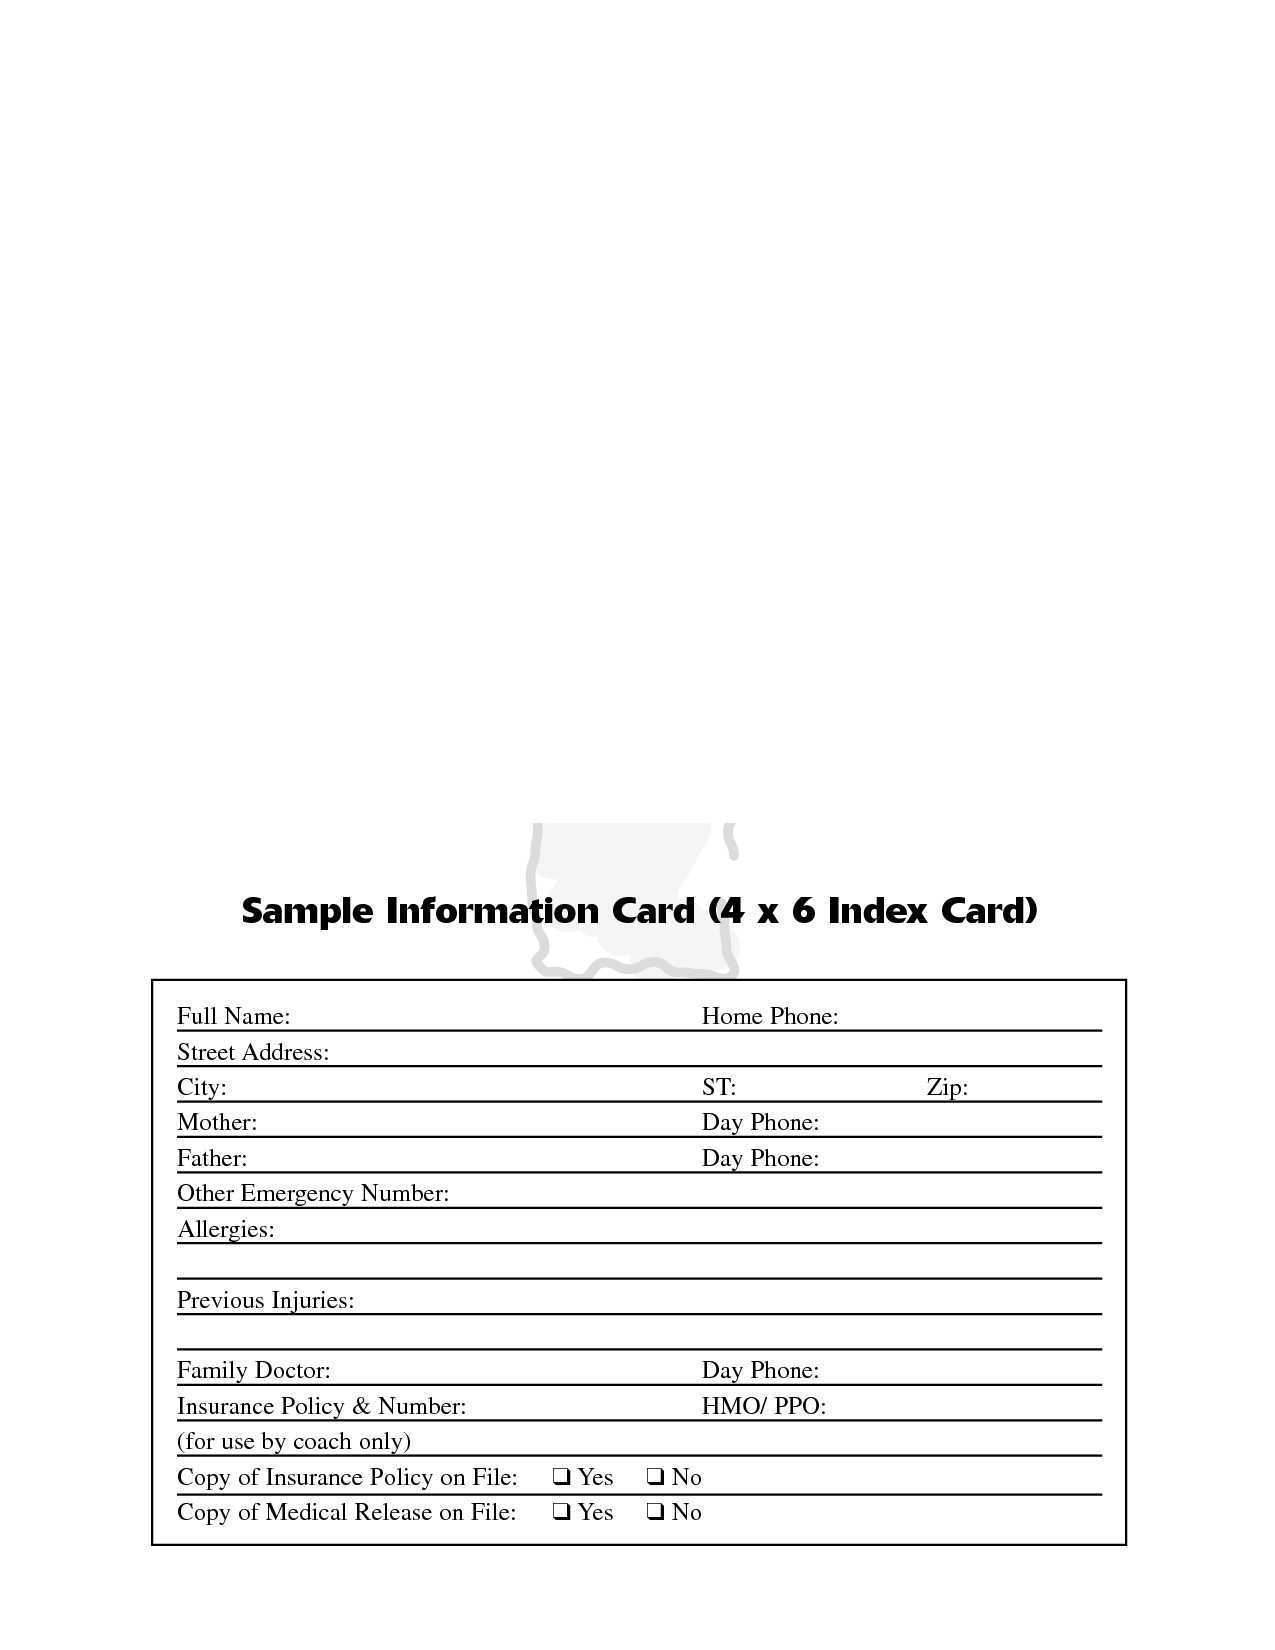
Now that you have set up your page layout, you can start creating your index cards. To do this, you will need to insert a table into your document. You can do this by clicking on the 'Insert' tab and selecting 'Table'. In the 'Table' dialog box, select the number of rows and columns you want your index cards to have, and click 'OK'. You can then type your notes into each cell of the table, and use the 'Borders' tool to add lines between the cells and make them look like index cards. Customizing Your Index Cards
Once you have created your index cards, you can customize them to fit your needs. You can change the font, color, and size of the text, and add images or other graphics to the cells. You can also use the 'Merge Cells' tool to combine multiple cells into one, or the 'Split Cells' tool to divide a single cell into multiple cells. When you are finished, you can print out your index cards and use them to study, take notes, or organize your thoughts.