Creating Maps with Ease: A Step-by-Step Guide to Using ArcMap

Getting Started with ArcMap
Welcome to the world of map-making with ArcMap! This powerful software allows users to create detailed, informative maps with ease. To get started, you'll need to download and install ArcMap on your computer. Once installed, launch the program and take a moment to familiarize yourself with the interface. You'll notice a range of tools and menus that will help you create your map.
To begin creating your map, start by adding a basemap. This can be done by selecting the 'Add Data' button and choosing a pre-made basemap from the available options. From here, you can start adding your own data, such as points, lines, and polygons. Use the 'Add Layer' button to import your data and start mapping. As you add more data, you can use the various tools to customize the appearance of your map, including changing colors, symbols, and labels.
Customizing and Refining Your Map
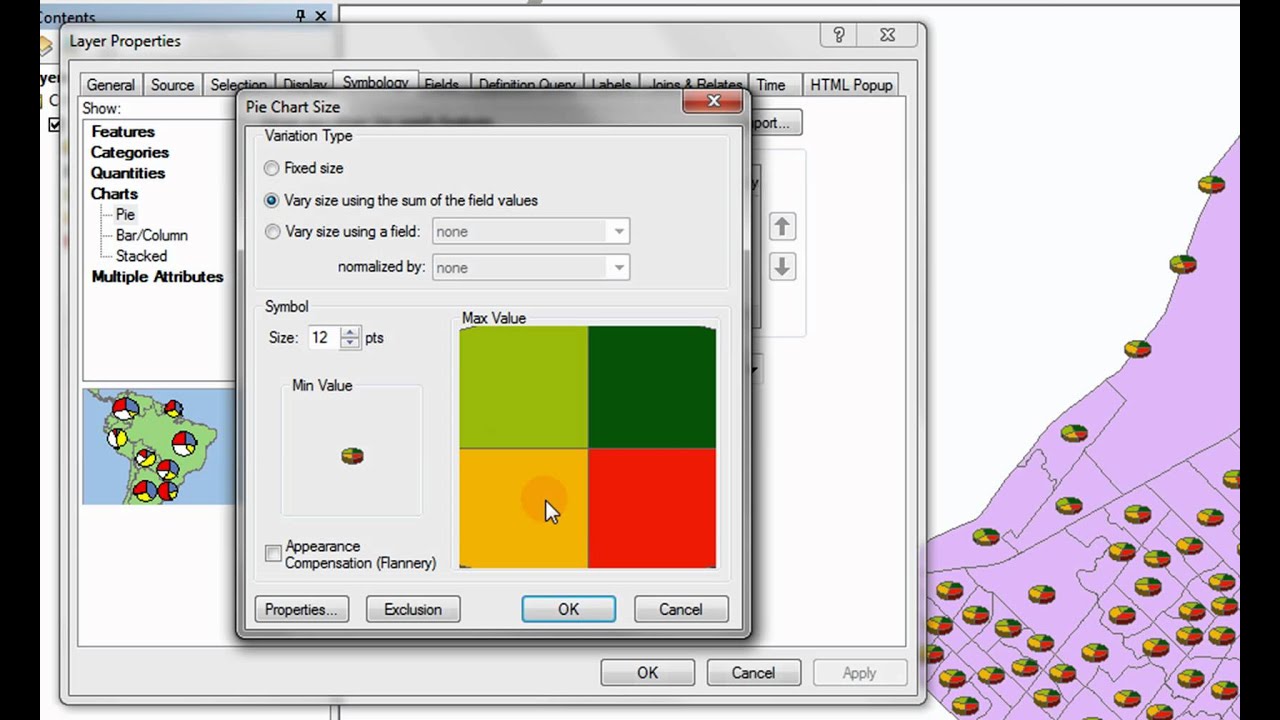
Now that you have the basics of your map in place, it's time to start customizing and refining your design. This is where the real fun begins! Use the 'Symbol' tab to change the appearance of your data, and the 'Label' tab to add text to your map. You can also use the 'Layout' tab to adjust the size and position of your map elements. Don't forget to save your work regularly, so you don't lose any of your progress.
As you near completion of your map, take a step back and evaluate your work. Make any final adjustments to the layout, symbols, and labels. When you're happy with your map, it's time to share it with the world. Use the 'Export' button to save your map as an image or PDF file, or use the 'Share' button to upload it to a online mapping platform. With these simple steps, you've successfully created a map in ArcMap. Happy mapping!