How To Make Printable Vinyl Stickers With Cricut
Materials Needed
Making printable vinyl stickers with a Cricut machine is a fun and creative way to personalize your belongings, decorate your space, or even start a small business. With the right materials and a little practice, you can create custom stickers that are both durable and visually appealing. In this article, we'll walk you through the step-by-step process of making printable vinyl stickers with your Cricut machine.
To get started, you'll need a few basic materials, including printable vinyl, a Cricut machine, and a computer or tablet with the Cricut design software. You'll also need a cutting mat, a weeding tool, and a transfer tape. The printable vinyl is available in a variety of colors and finishes, so you can choose the one that best suits your project.
Designing and Cutting Your Stickers
Materials Needed: Before you begin, make sure you have all the necessary materials. This includes the printable vinyl, which is specifically designed for use with the Cricut machine. You'll also need to choose a design for your sticker, which can be created using the Cricut design software or imported from another program. Once you have your design, you can send it to the Cricut machine and start the cutting process.
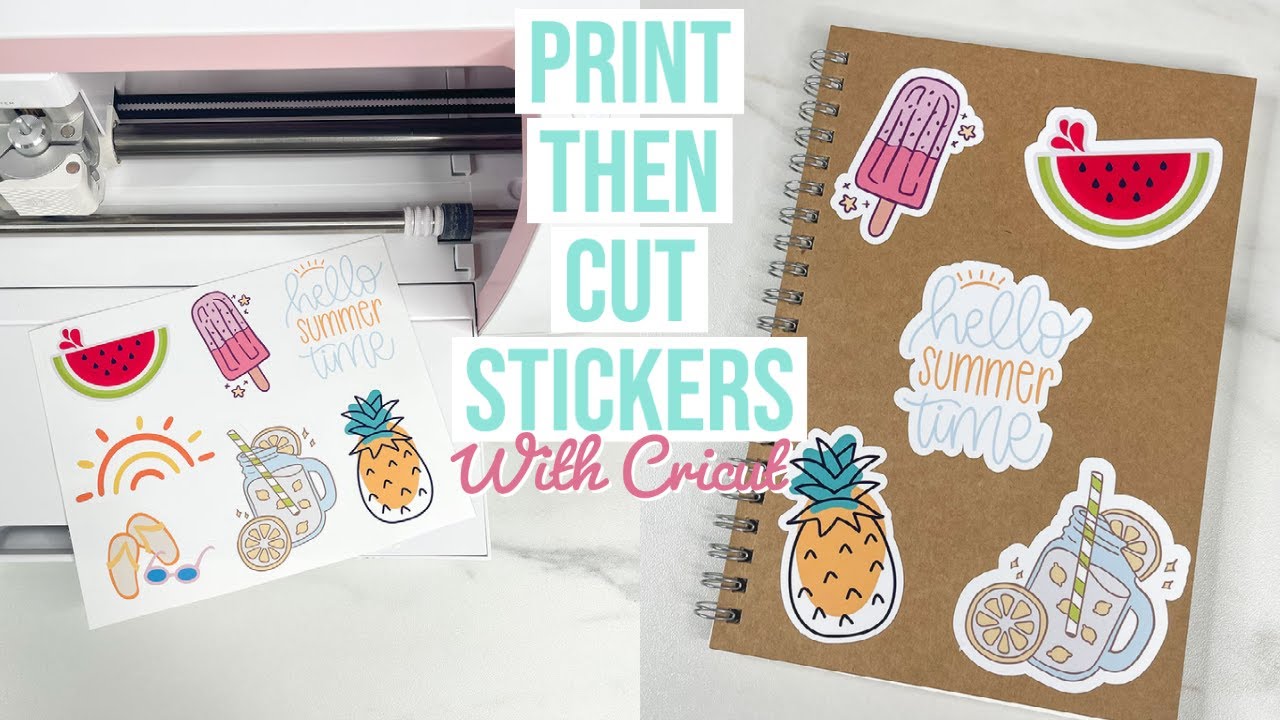
Designing and Cutting Your Stickers: With your materials in hand, it's time to design and cut your stickers. The Cricut design software makes it easy to create custom designs, and the machine itself is simple to use. Once your stickers are cut, you can use the weeding tool to remove excess vinyl and the transfer tape to apply them to your desired surface. With a little practice, you'll be making professional-looking printable vinyl stickers in no time. Whether you're making stickers for personal use or to sell, the Cricut machine is a valuable tool that can help you achieve your goals.