A Beginner's Guide to Pressing Printable Heat Transfer Vinyl
Preparation is Key
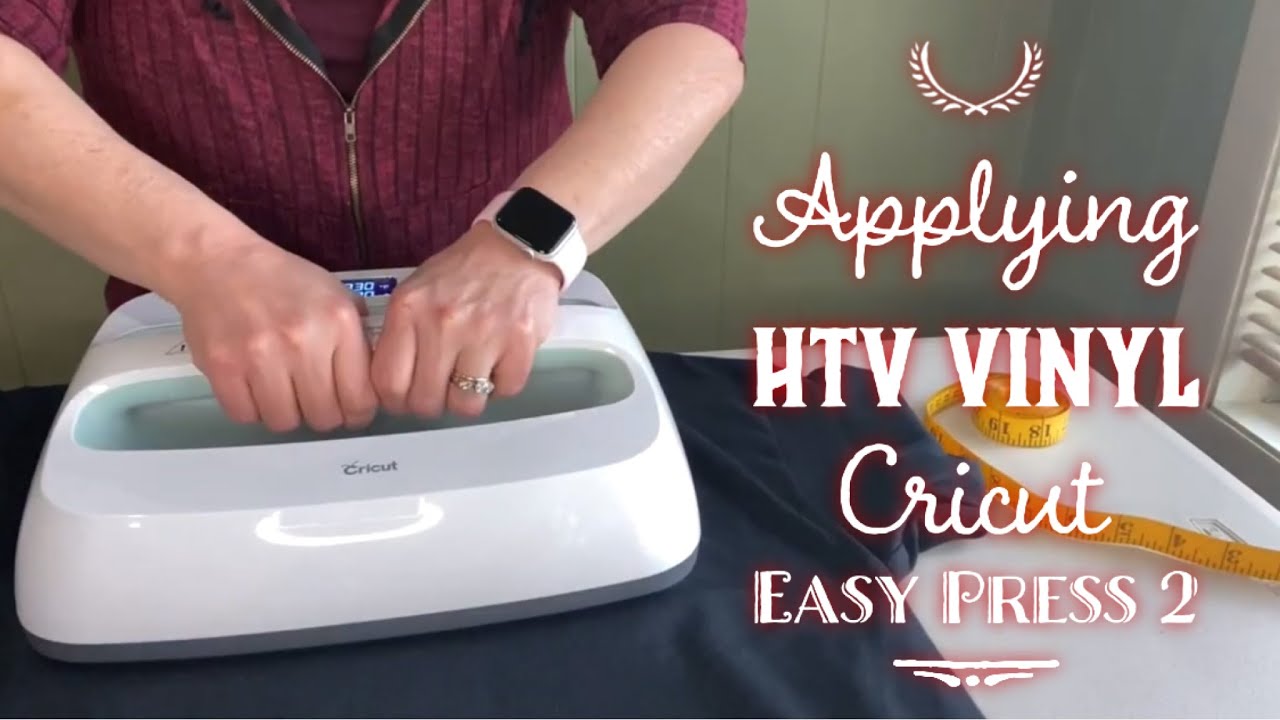
Pressing printable heat transfer vinyl is a fun and creative way to add custom designs to your favorite items, such as t-shirts, hoodies, and tote bags. With the right tools and a little practice, you can achieve professional-looking results that will make your designs stand out. In this article, we'll walk you through the steps to press printable heat transfer vinyl like a pro.
To get started, you'll need a few basic supplies, including a heat press, printable heat transfer vinyl, and a design or image to transfer. Make sure your design is mirrored and reversed, as the vinyl will be applied to the item with the design facing down. You'll also want to pre-heat your heat press to the recommended temperature, usually around 300-320 degrees Fahrenheit.
Tips for a Successful Press
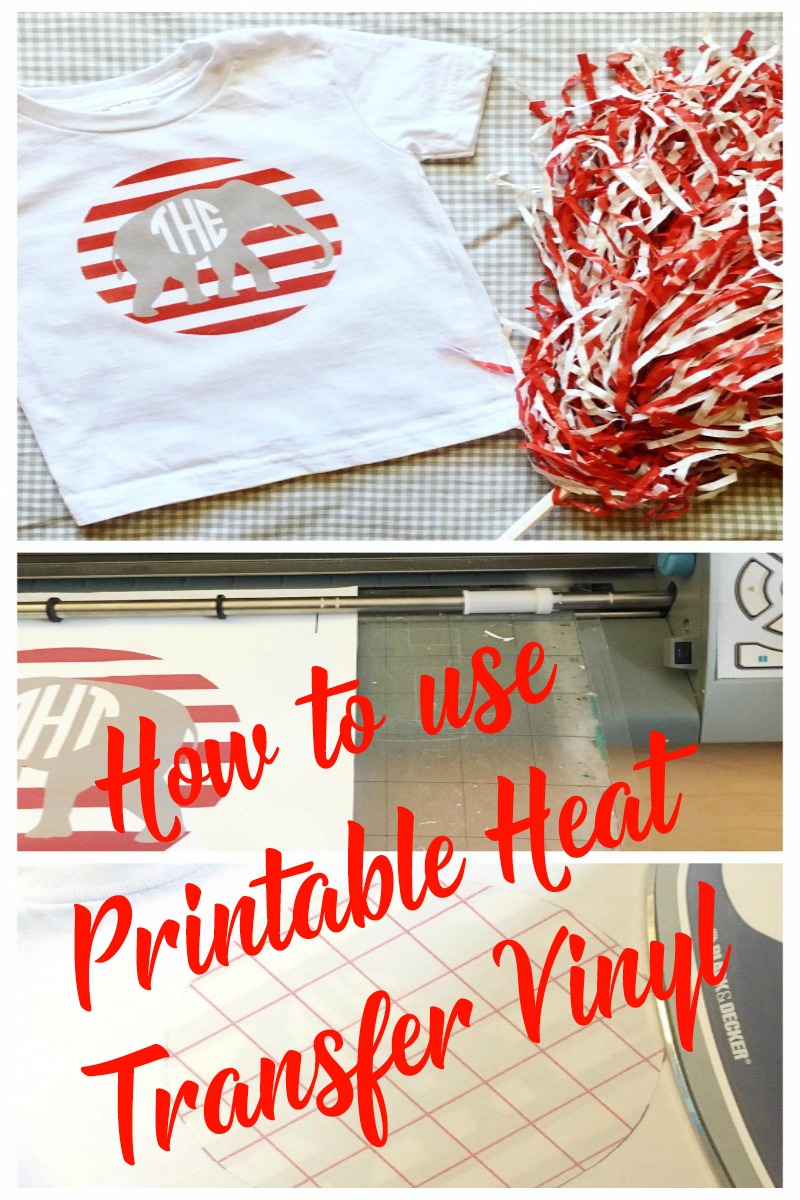
Preparation is Key When preparing your design, make sure to use a high-quality image with a resolution of at least 300 DPI. This will ensure that your design looks crisp and clear on the final product. You'll also want to trim your vinyl to the correct size, leaving a little extra around the edges to prevent the vinyl from peeling off during the pressing process. With your design and vinyl ready, it's time to move on to the pressing process.
Tips for a Successful Press To achieve the best results, make sure to apply even pressure and heat to the vinyl. You can use a heat press with a digital temperature control to ensure that the temperature remains consistent throughout the pressing process. It's also a good idea to do a test press on a scrap piece of fabric before applying the vinyl to your final product. This will help you ensure that the vinyl is applying correctly and that the design looks good. With these tips and a little practice, you'll be pressing printable heat transfer vinyl like a pro in no time.