
A Step-by-Step Guide on How to Print Avery Labels in Word


Setting Up Your Avery Labels in Word
Printing Avery labels in Word can seem like a daunting task, but it's actually quite straightforward. With the right guidance, you can create and print your own labels in no time. Avery labels are a popular choice for many businesses and individuals due to their high-quality and durability. In this article, we'll walk you through the simple steps to print Avery labels in Word, making it easy for you to get started.
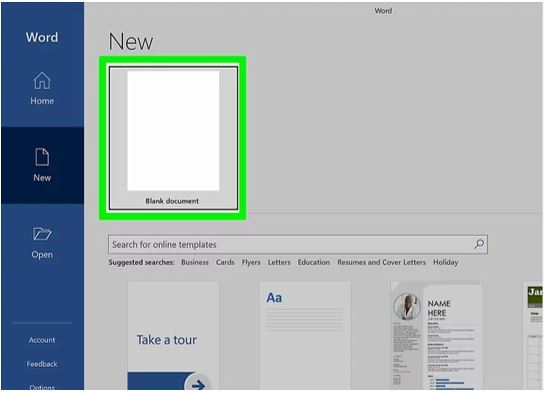
To begin, you'll need to set up your Avery labels in Word. This involves selecting the correct label template and configuring the page settings. You can find Avery label templates in the Microsoft Word template gallery or on the Avery website. Simply download the template that matches your label size and type, and then open it in Word. From there, you can customize the template to fit your needs, adding your own text, images, and other design elements.
Printing Your Avery Labels
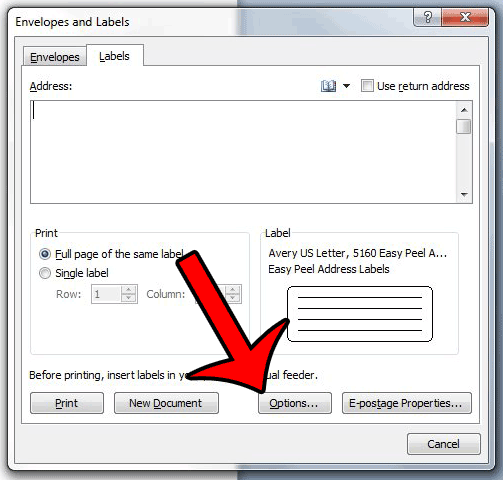
Once you've set up your template, it's time to print your Avery labels. This is where the Printing Your Avery Labels comes in. Make sure you've selected the correct printer and label settings before printing. You can do this by going to the 'File' menu and selecting 'Print'. From there, you can choose your printer, select the correct paper size, and adjust any other settings as needed. It's also a good idea to print a test page before printing your actual labels to ensure everything is aligned correctly.
With these simple steps, you can easily print Avery labels in Word. Whether you're creating labels for business or personal use, Avery labels are a great choice due to their high-quality and durability. By following this guide, you'll be able to create and print your own labels in no time, saving you time and money in the long run. So why wait? Get started today and discover the ease of printing Avery labels in Word!