
How to Print CD Labels: A Step-by-Step Guide

Materials Needed
Printing CD labels is a great way to add a personal touch to your music collection or to create professional-looking labels for your business or organization. With a few simple materials and some basic computer skills, you can create high-quality CD labels that look great and last long. In this article, we will walk you through the steps to print CD labels, from preparing your materials to applying the label to the CD.
To get started, you will need a few basic materials, including a computer with a CD label printing software, a printer, CD labels, and a CD. You can purchase CD labels at most office supply stores or online. Make sure to choose labels that are compatible with your printer and CD type.
Printing and Applying the Label
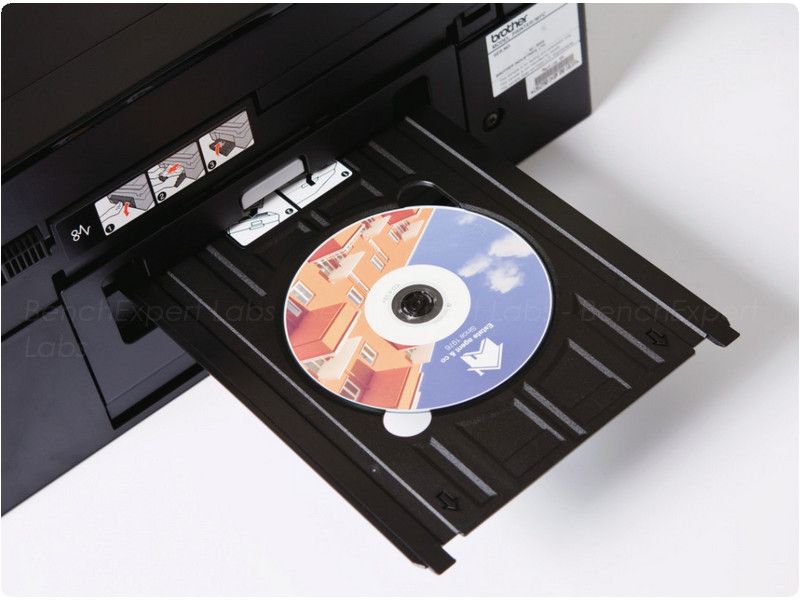
Once you have your materials, you can start designing your label. Most CD label printing software comes with pre-designed templates and layouts that you can use to create your label. You can also add your own images, text, and graphics to make the label more personalized. When you are happy with your design, you can print the label using your printer. Printing and Applying the Label
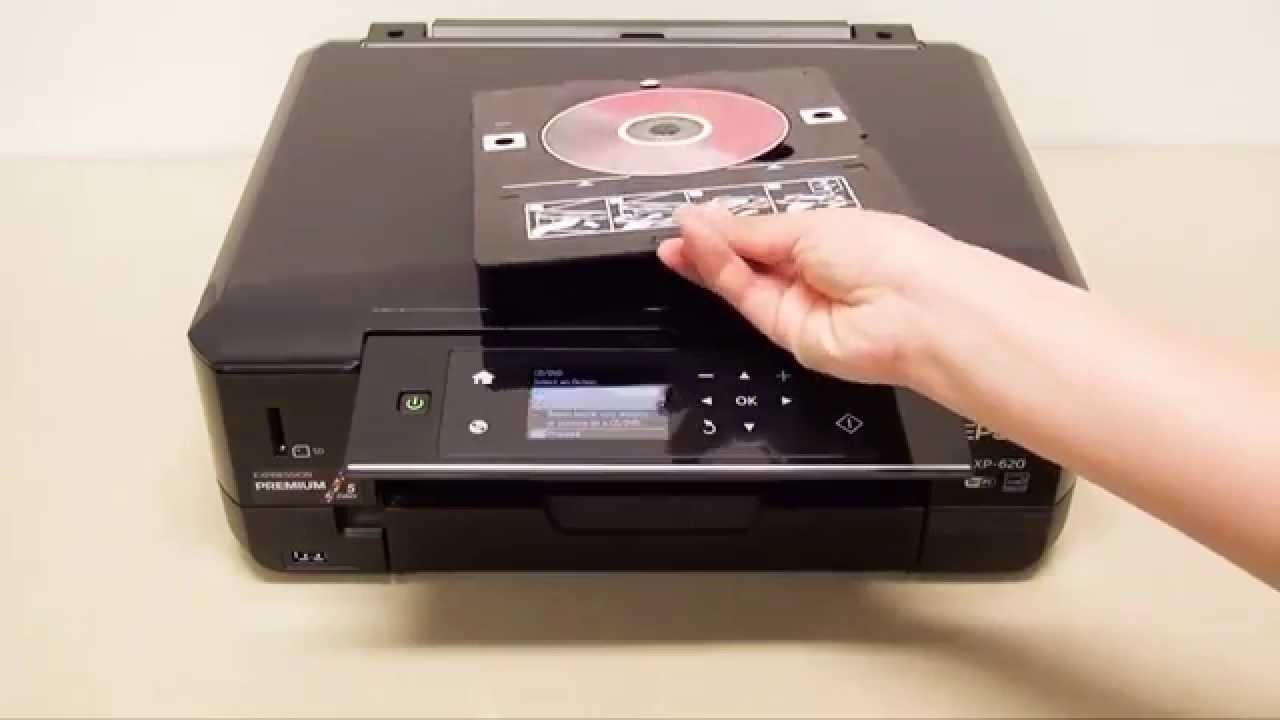
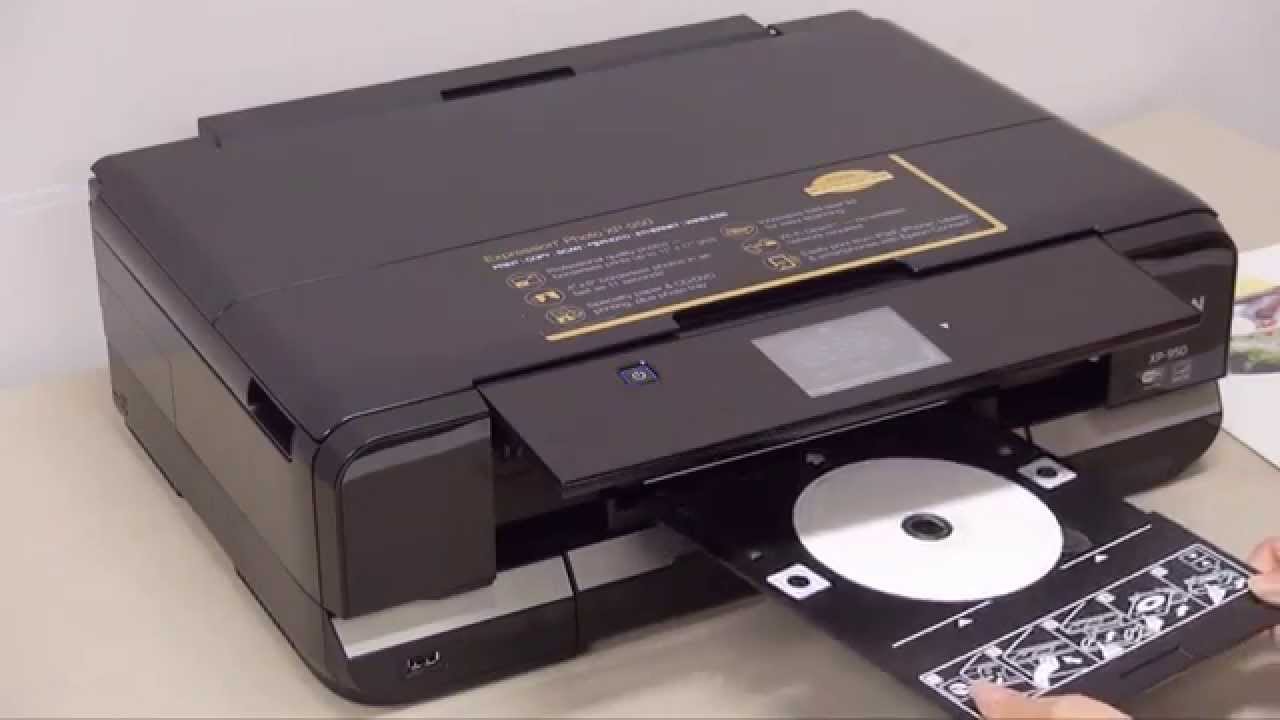
After printing the label, you can apply it to the CD. Make sure to align the label properly and smooth out any air bubbles or wrinkles. With a little practice, you can create professional-looking CD labels that will make your music collection or business stand out. By following these simple steps, you can print CD labels with ease and add a personal touch to your CDs.