
How To Print Double Sided Gift Tags


Preparing Your Gift Tags
Printing double sided gift tags can be a bit tricky, but with the right techniques and tools, you can create beautiful and professional-looking gift tags at home. To start, you'll need a few basic materials, including a printer, paper or cardstock, and a design or template for your gift tags. You can find many free templates online or create your own using a design program like Adobe Illustrator or Canva.
When choosing a paper or cardstock, consider the thickness and texture of the material. Thicker papers or cardstocks will work best for double sided printing, as they will be less prone to showing through from the other side. You'll also want to make sure your printer is capable of printing on both sides of the paper, either manually or automatically.
Printing Double Sided Gift Tags
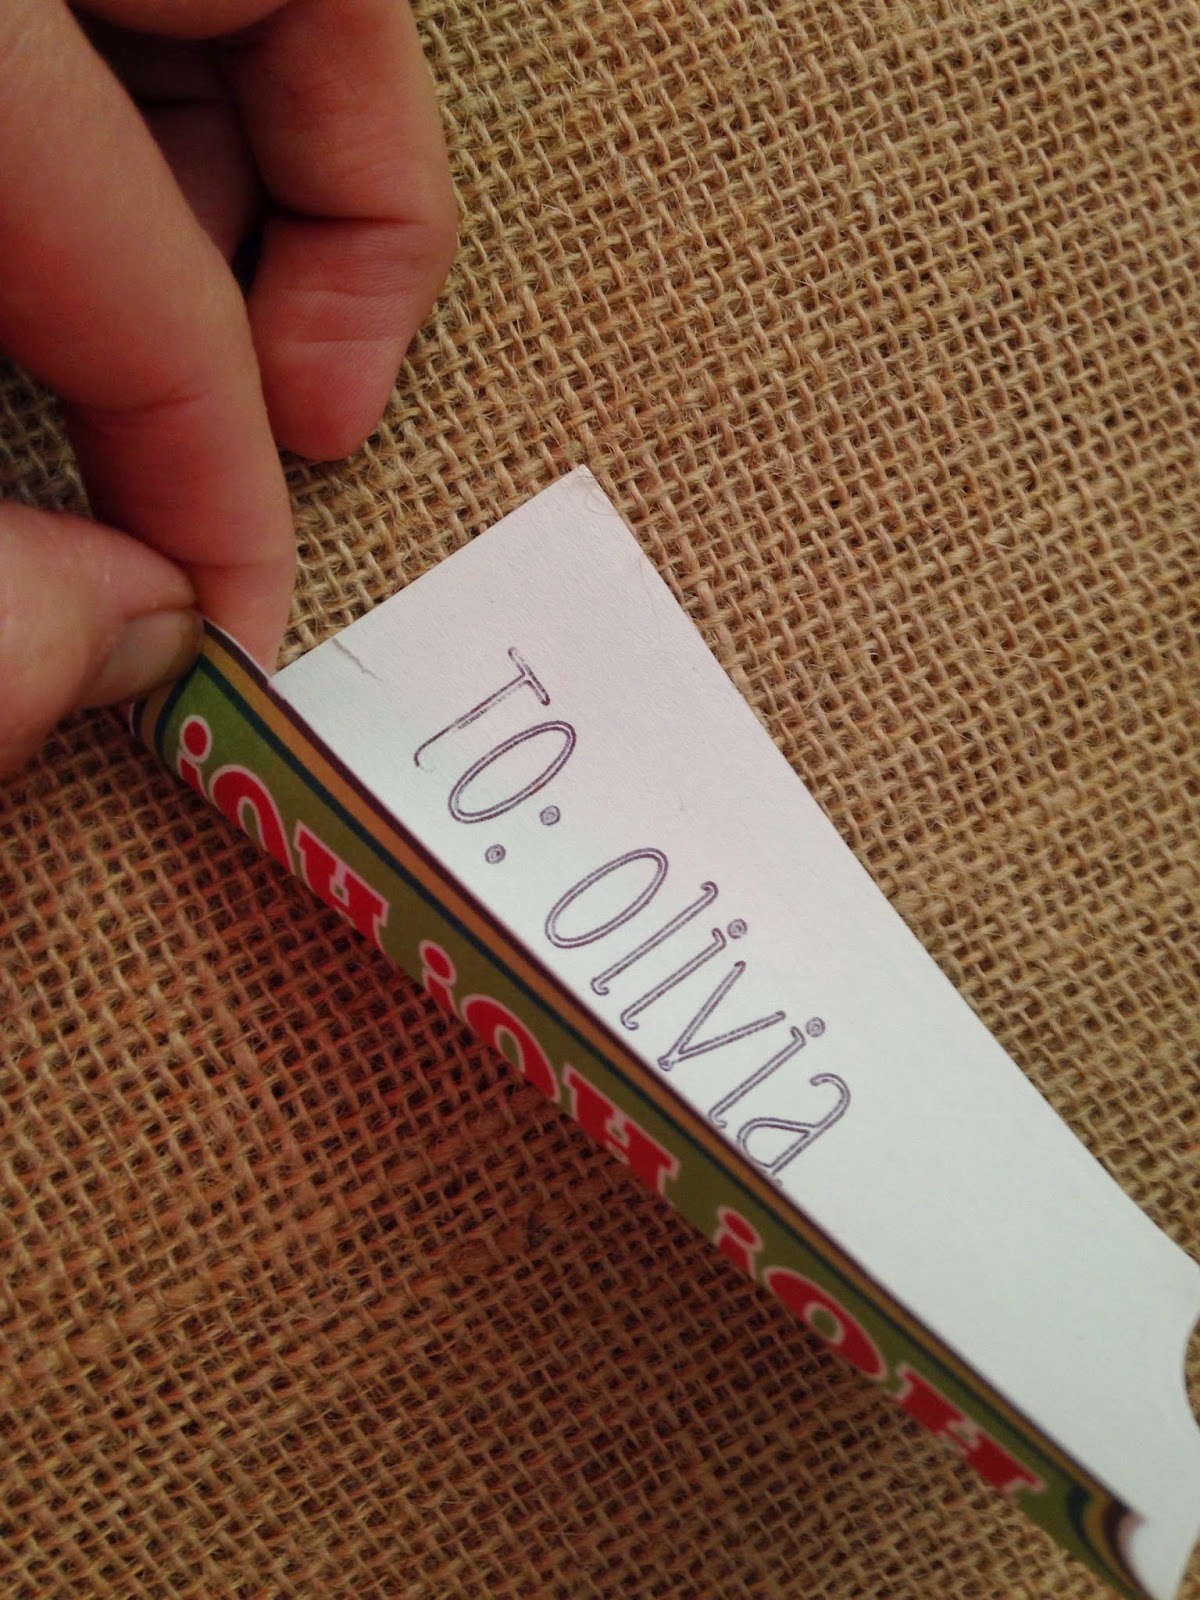
To prepare your gift tags for printing, start by designing or selecting a template. Make sure to leave enough space on the tag for the recipient's name and any other relevant information. You can also add images, patterns, or other decorative elements to make your gift tags more visually appealing. Once you have your design, save it as a PDF or JPEG file and send it to your printer.
To print double sided gift tags, start by printing the first side of the tag. Allow the ink to dry completely before flipping the paper over and printing the second side. If your printer has an automatic duplex printing feature, you can use this to print both sides of the tag at once. Otherwise, you'll need to manually flip the paper and print the second side. With a little practice and patience, you can create beautiful double sided gift tags that will add a personal touch to any gift.