How to Print Labels in Google Sheets: A Step-by-Step Guide

Setting Up Your Label Template
Printing labels in Google Sheets can be a bit tricky, but with the right steps, you can create professional-looking labels with ease. Google Sheets is a powerful tool that allows you to create and edit spreadsheets online. One of its many features is the ability to print labels, which can be useful for a variety of purposes, such as mailing, shipping, and organizing files.
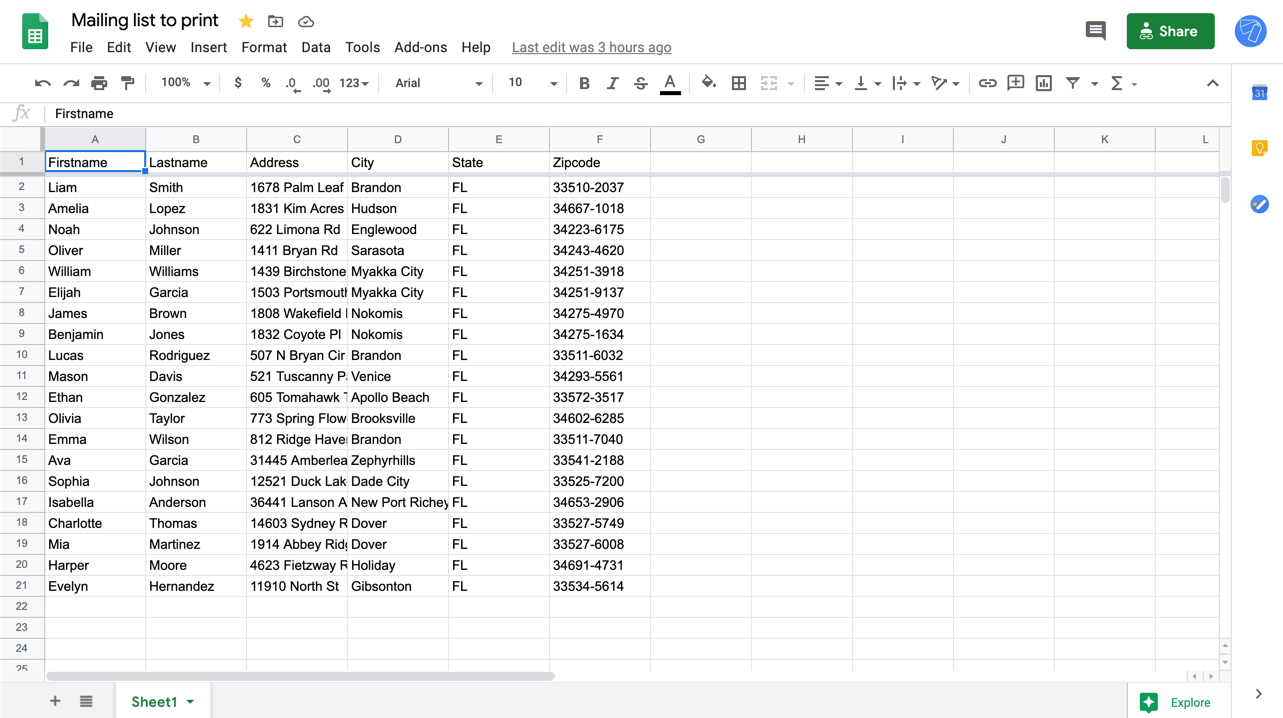
To get started, you'll need to set up your label template in Google Sheets. This involves creating a new spreadsheet and formatting the cells to match the size and layout of your labels. You can use the built-in templates in Google Sheets or create your own custom template. Once you've set up your template, you can start entering your data, such as names, addresses, and other relevant information.
Printing Your Labels
When setting up your label template, it's essential to consider the size and layout of your labels. You'll need to ensure that the cells in your spreadsheet are the correct size and shape to fit your labels. You can use the 'Page setup' feature in Google Sheets to adjust the margins and paper size to match your label sheets. Additionally, you can use the 'Merge cells' feature to combine cells and create a single label.
Once you've set up your label template and entered your data, you're ready to print your labels. To do this, go to the 'File' menu and select 'Print'. Then, select the 'Labels' option and choose the correct label size and layout. You can also adjust the print settings, such as the font size and style, to ensure that your labels look professional. With these simple steps, you can print high-quality labels in Google Sheets and make your work easier and more efficient.