
A Beginner's Guide to Using Cricut Printable Iron On

Getting Started with Cricut Printable Iron On
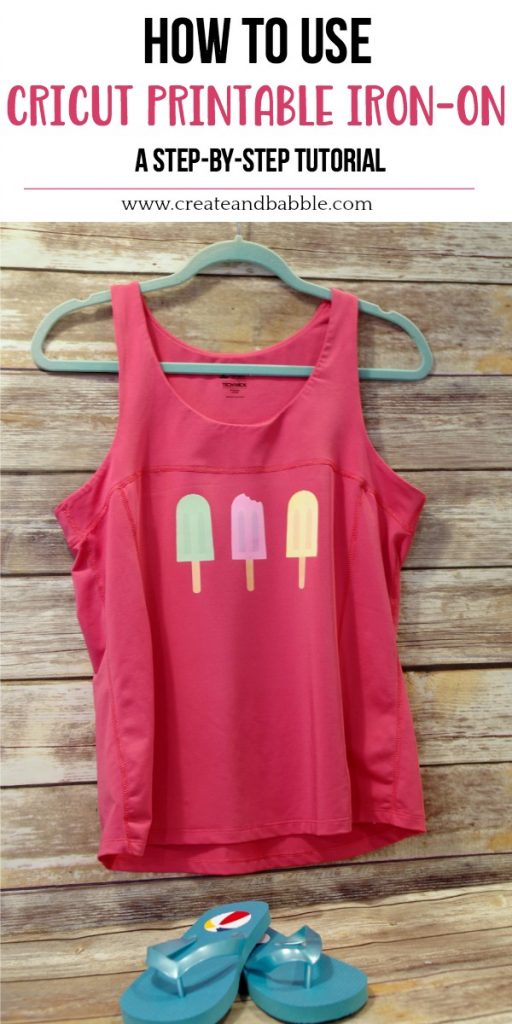
If you're new to the world of Cricut crafting, you might be wondering how to use Cricut printable iron on. This versatile material allows you to create custom iron-on designs for t-shirts, tote bags, and more. With a few simple steps, you can create professional-looking designs that will make your projects stand out. In this article, we'll show you how to get started with Cricut printable iron on and provide some tips and tricks for using it like a pro.
To start, you'll need a few basic supplies, including a Cricut machine, Cricut printable iron on, and a computer or tablet with the Cricut design software. You can choose from a variety of iron-on colors and finishes, including glitter, foil, and more. Once you have your supplies, you can start designing your project. The Cricut design software makes it easy to create custom designs, from simple text and shapes to complex images and patterns.
Tips and Tricks for Using Cricut Printable Iron On
Once you've designed your project, it's time to cut out your iron-on design. The Cricut machine makes this easy, with a special setting for cutting iron-on material. Simply load the iron on into the machine, select the correct settings, and let the Cricut do the work. After your design is cut, you can weed out the excess iron on and apply it to your project using a heat press or household iron. Tips and Tricks for Using Cricut Printable Iron On
With a little practice, you'll be creating custom iron-on designs like a pro. One tip is to use a weeding tool to remove excess iron on from your design. This will make it easier to apply the iron on to your project and prevent wrinkles and bubbles. You can also use a heat press to apply the iron on, which will give you a more professional finish. By following these tips and practicing your skills, you'll be able to create custom iron-on designs that will make your projects stand out.