The Ultimate Guide to Using Printable Iron On: A Step-by-Step Tutorial


Getting Started with Printable Iron On
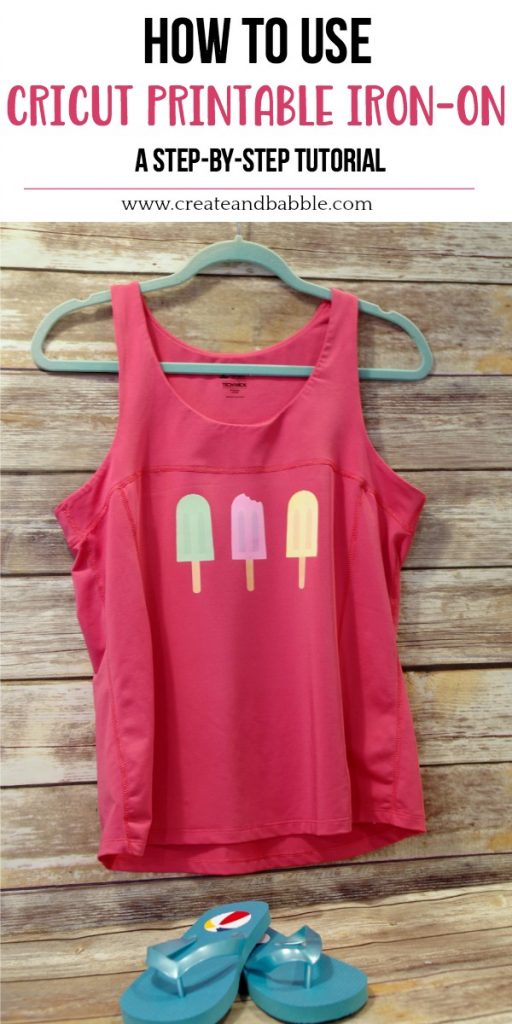
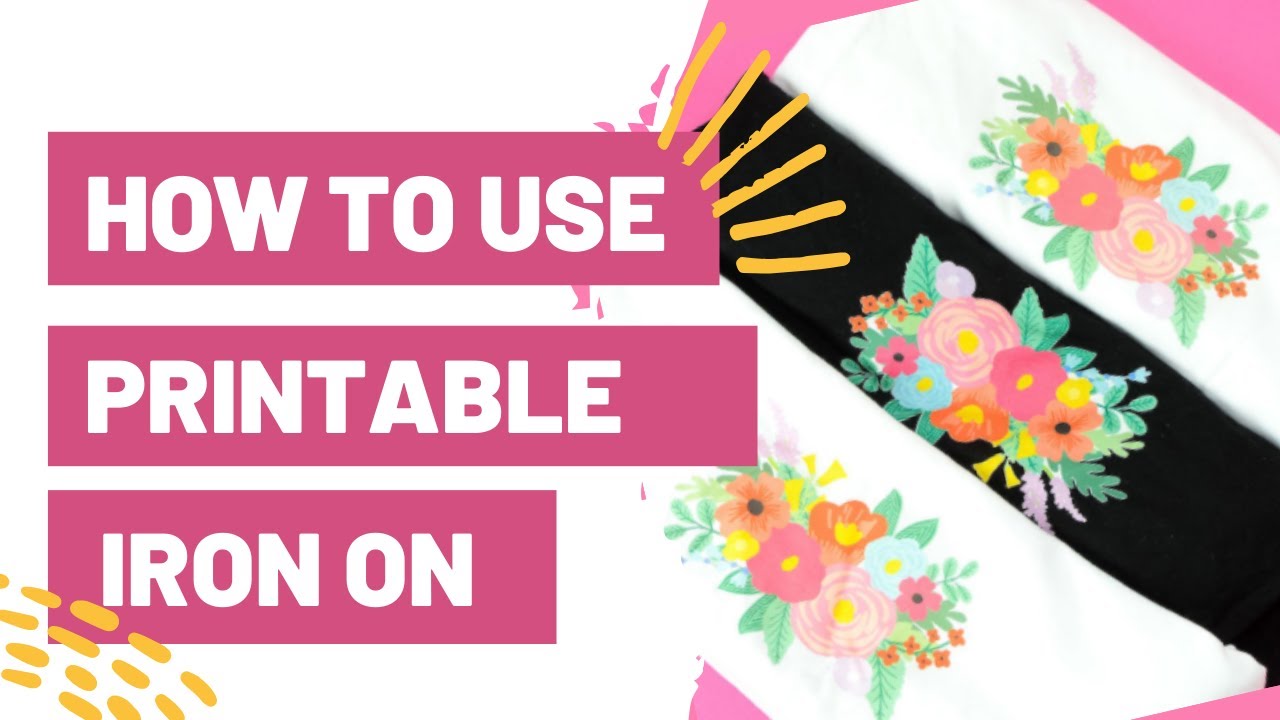
Printable iron on transfers are a great way to add custom designs to your favorite t-shirts, hoodies, and other fabrics. With the right tools and techniques, you can create professional-looking designs that will make you stand out from the crowd. In this article, we'll show you how to use printable iron on transfers to create custom designs that will impress your friends and family.
To get started, you'll need a few basic supplies, including a printer, iron on transfer paper, and a heat press or iron. You'll also need a design or image that you want to transfer onto your fabric. This can be a photo, a logo, or any other type of design that you like. Once you have your design, you can print it onto the iron on transfer paper using your printer.
Tips and Tricks for Perfect Iron On Transfers
Now that you have your design printed onto the iron on transfer paper, it's time to apply it to your fabric. This is where the heat press or iron comes in. If you're using a heat press, simply place the transfer paper onto the fabric and press it according to the manufacturer's instructions. If you're using an iron, place the transfer paper onto the fabric and iron it using a hot setting and plenty of pressure. Make sure to apply even pressure and heat to ensure that the design transfers evenly onto the fabric.
With a little practice and patience, you can create perfect iron on transfers that will last for a long time. One tip is to use a high-quality iron on transfer paper that is designed specifically for the type of fabric you're using. Another tip is to make sure that the fabric is clean and dry before applying the transfer. This will help ensure that the design adheres evenly and doesn't fade or peel off over time. By following these tips and using the right techniques, you can create custom designs that will make you look and feel great.