
A Beginner's Guide to Using Printable Iron On Vinyl

Getting Started with Printable Iron On Vinyl
Printable iron on vinyl is a great way to add a personal touch to your clothing, accessories, and home decor. With the ability to print your own designs, you can create unique and customized items that reflect your personality and style. However, using printable iron on vinyl can be a bit tricky, especially for beginners. In this article, we will guide you through the process of using printable iron on vinyl and provide you with some helpful tips and tricks.
To get started, you will need a few basic supplies, including a printer, iron on vinyl, and a heat press or iron. You will also need to choose a design or image that you want to print and apply to your item. There are many different types of printable iron on vinyl available, including matte, glossy, and metallic finishes. Choose the type that best suits your project and preferences.
Tips and Tricks for a Successful Application
Once you have your supplies and design, you can start the application process. Begin by printing your design onto the iron on vinyl using your printer. Make sure to mirror your image before printing, as the vinyl will be applied to the item with the printed side facing down. Next, cut out your design, leaving a small border around the edges. This will help prevent the vinyl from peeling off over time.
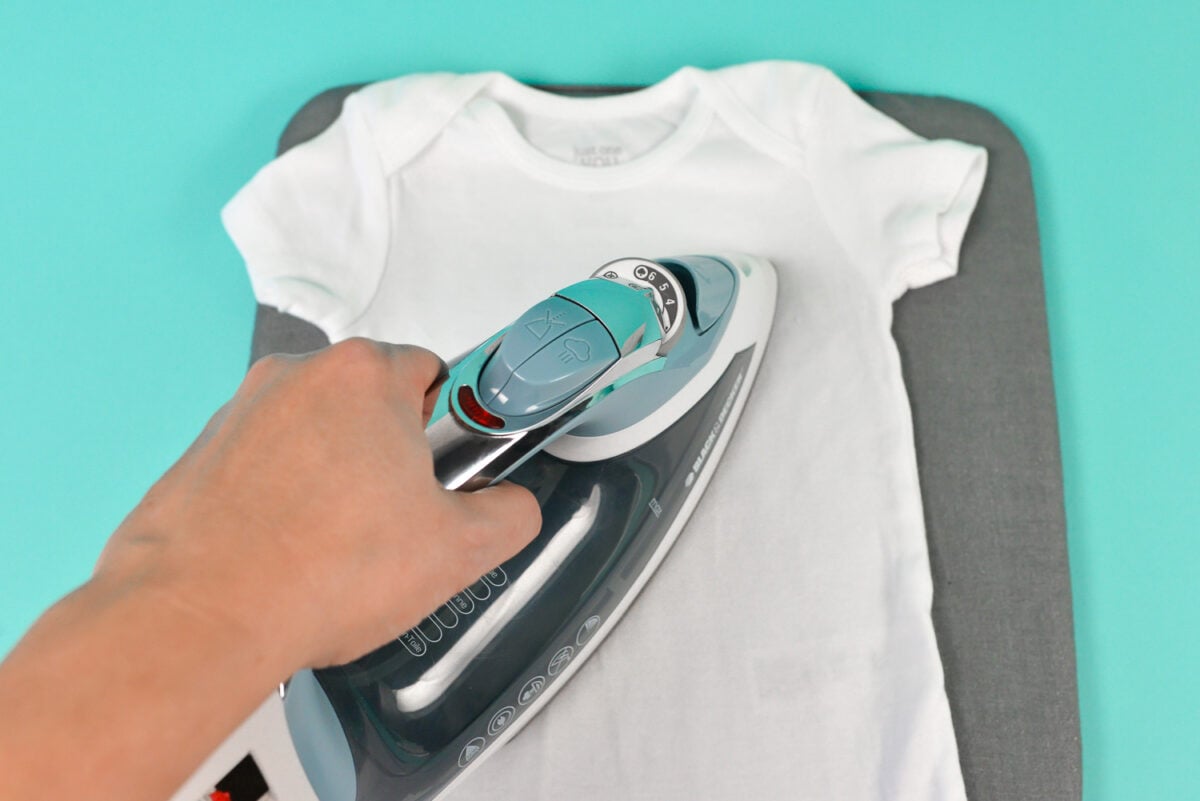
To ensure a successful application, make sure to follow the instructions carefully and take your time. Apply the vinyl to your item, starting in the center and working your way outwards. Use a heat press or iron to apply heat and pressure to the vinyl, making sure to follow the recommended temperature and time guidelines. With a little practice and patience, you can create professional-looking results with printable iron on vinyl. Whether you're making a customized t-shirt, tote bag, or home decor item, printable iron on vinyl is a great way to add a personal touch and make your project stand out.