
A Beginner's Guide to Iron On Printable Vinyl: How To


Getting Started with Iron On Printable Vinyl
Iron on printable vinyl is a popular material for DIY crafters and small business owners looking to create custom designs for t-shirts, hoodies, and other fabrics. With the right tools and a little practice, you can achieve professional-looking results at home. In this article, we'll take you through the basics of iron on printable vinyl and provide you with a step-by-step guide on how to use it.
The first step in working with iron on printable vinyl is to choose the right type of vinyl for your project. There are several types of vinyl available, including matte, glossy, and metallic finishes. You'll also need to select a vinyl that is compatible with your printer and the type of fabric you're working with. Once you have your vinyl, you can cut it to size using a craft cutter or scissors.
Tips and Tricks for a Professional Finish
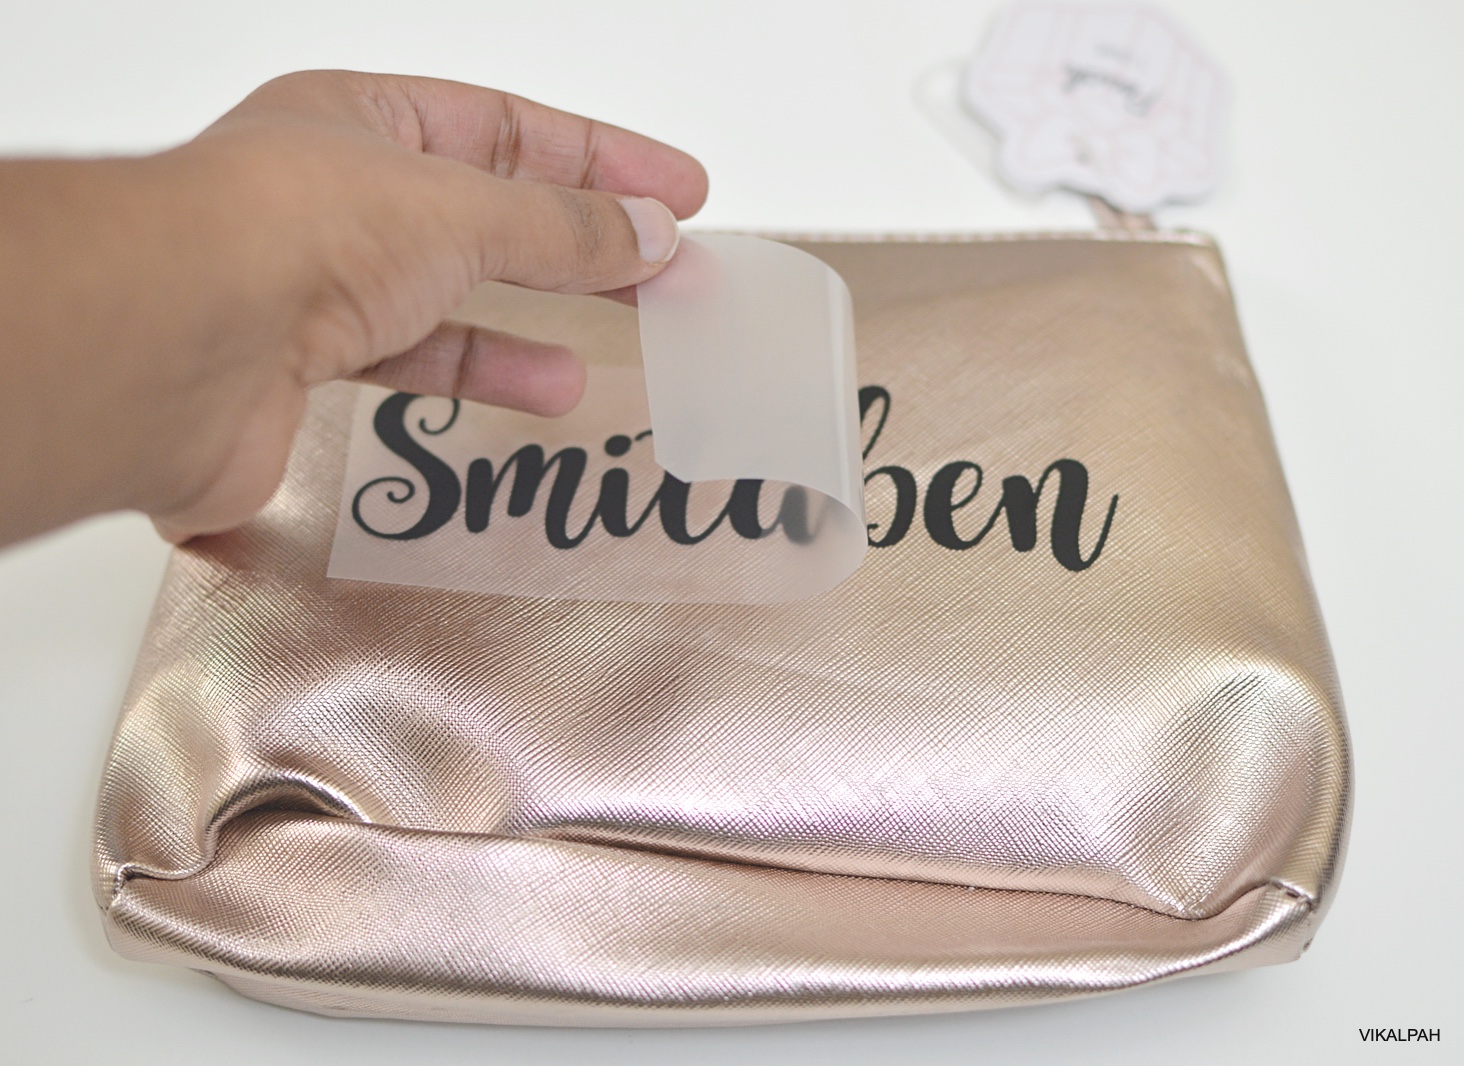
To apply the vinyl to your fabric, you'll need a heat press or a household iron. If you're using a heat press, follow the manufacturer's instructions for temperature and pressure settings. If you're using a household iron, make sure it's set to the cotton or linen setting and use a pressing cloth to protect the vinyl and the fabric. Apply the vinyl to the fabric, starting in the center and working your way outwards. Use a firm, even pressure to ensure the vinyl adheres evenly.
With a little practice, you can achieve professional-looking results with iron on printable vinyl. One of the most important things to keep in mind is to use the right temperature and pressure settings for your vinyl and fabric. You should also make sure the vinyl is applied smoothly and evenly, with no wrinkles or air bubbles. By following these tips and tricks, you can create custom designs that look great and last long.