
How to Make a Chart in Google Docs: A Step-by-Step Guide
Getting Started with Google Docs Charts
Google Docs is a powerful word processing tool that offers a wide range of features to help you create professional-looking documents. One of the most useful features in Google Docs is the ability to create charts and graphs. Charts are a great way to visualize data and make it easier to understand, and they can be used in a variety of contexts, from business reports to academic papers.
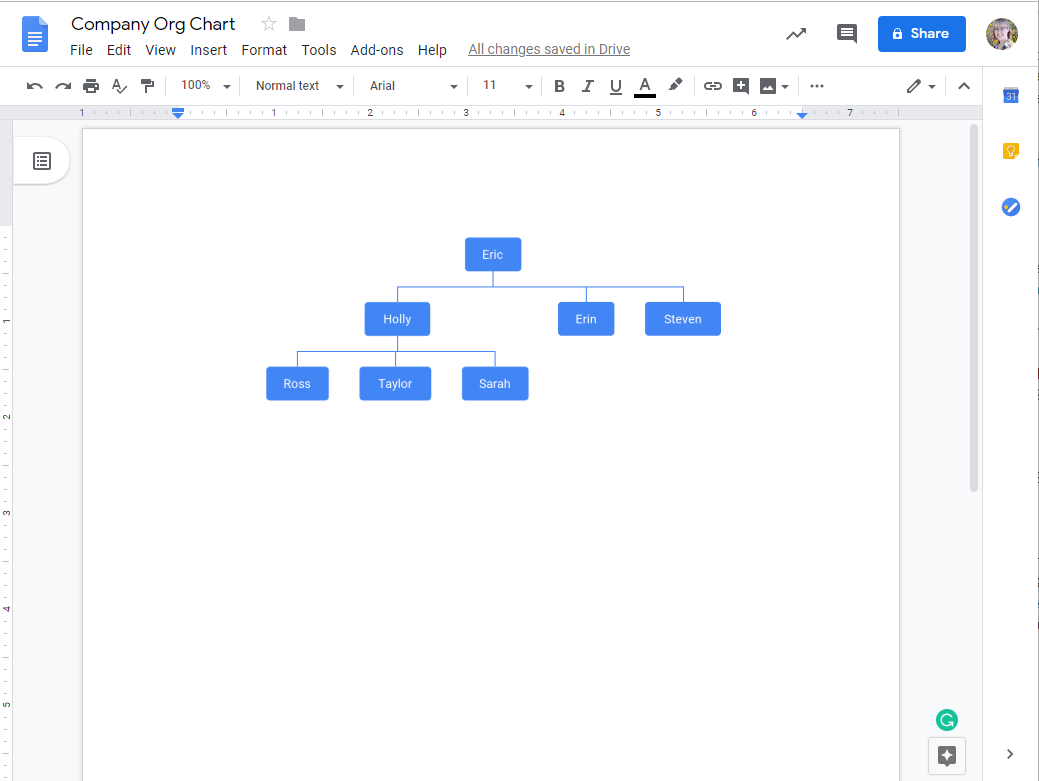
To make a chart in Google Docs, you'll need to start by selecting the data you want to use. This can be a table or a range of cells that contain the data you want to chart. Once you've selected your data, you can click on the 'Insert' menu and select 'Chart' to create a new chart. Google Docs will automatically generate a chart based on your data, and you can customize it to fit your needs.
Customizing Your Chart to Perfection
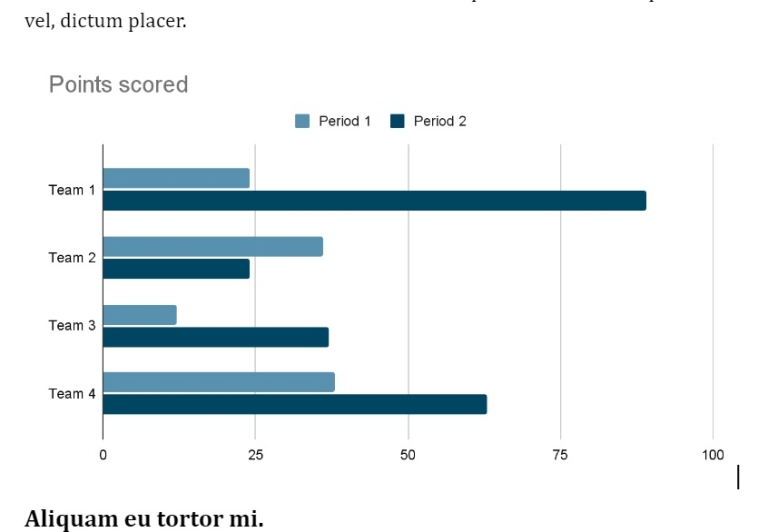
When you create a chart in Google Docs, you'll have a range of options to customize its appearance. You can choose from a variety of chart types, including column charts, line charts, and pie charts. You can also customize the chart's title, axis labels, and data labels to make it easier to understand. Additionally, you can use the 'Customize' tab to change the chart's colors, fonts, and other visual elements.
Once you've created and customized your chart, you can insert it into your document and use it to illustrate your points. Google Docs makes it easy to resize and reposition your chart, so you can fit it seamlessly into your document. With its intuitive interface and powerful features, Google Docs is the perfect tool for creating charts and graphs that will help you communicate your ideas more effectively.