The Ultimate Printable Vinyl Heat Guide: Tips and Tricks


Understanding Printable Vinyl
When it comes to creating custom designs and prints, printable vinyl is a popular choice among crafters and DIY enthusiasts. This versatile material can be used to create a wide range of products, from custom t-shirts and decals to signs and displays. However, working with printable vinyl requires some knowledge and skill, particularly when it comes to heat transfer. In this article, we'll provide a comprehensive guide to printable vinyl and heat transfer, covering the basics, tips, and tricks for achieving professional results.
Printable vinyl is a type of vinyl that has been specially designed to be printed on using a standard inkjet printer. It's available in a range of finishes, including glossy, matte, and laminated, and can be cut to size using a craft cutter or scissors. One of the key benefits of printable vinyl is its ease of use - simply print your design, cut it out, and apply it to your chosen surface using heat transfer. However, getting the best results requires some practice and patience, as well as a good understanding of the materials and techniques involved.
Heat Transfer Techniques
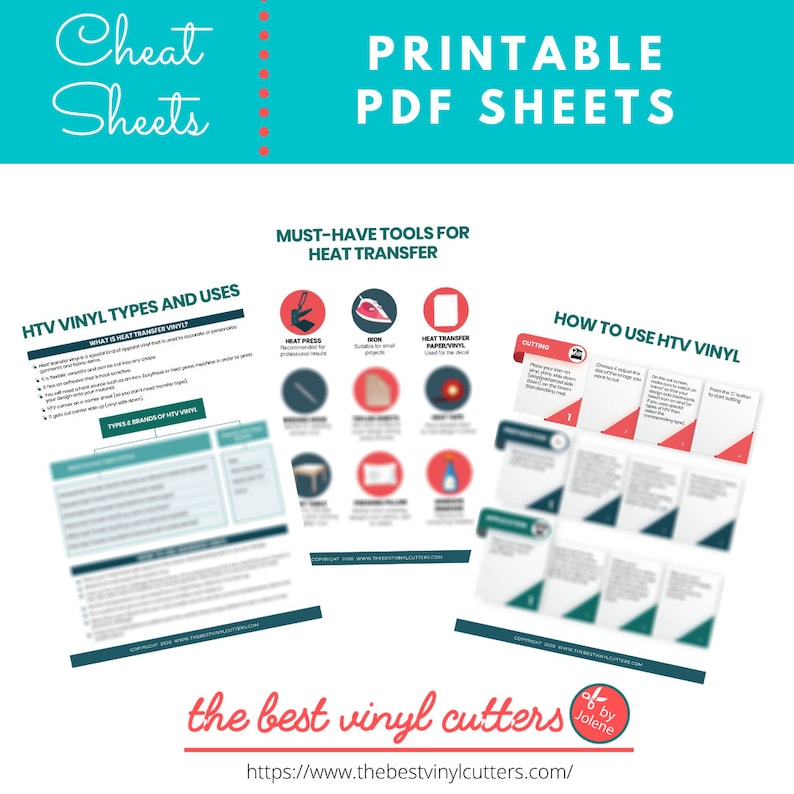
To get the best results from your printable vinyl, it's essential to understand the different types available and how they work. For example, some printable vinyls are designed specifically for use with heat transfer, while others are better suited to cold application. It's also important to choose the right ink and printer settings to ensure that your design prints clearly and accurately. By taking the time to understand the basics of printable vinyl, you'll be able to achieve professional-looking results and create a wide range of custom products.
Heat transfer is a crucial part of working with printable vinyl, and there are several techniques to master. One of the most common methods is to use a heat press, which applies even heat and pressure to the vinyl to ensure a strong bond. However, you can also use a household iron or other heat source to apply the vinyl, although this may require some trial and error to get right. By following our tips and tricks, you'll be able to achieve smooth, bubble-free results and create custom products that look professional and polished.