
Resize Printables For Happy Planner: A Step-by-Step Guide


Why Resize Printables?
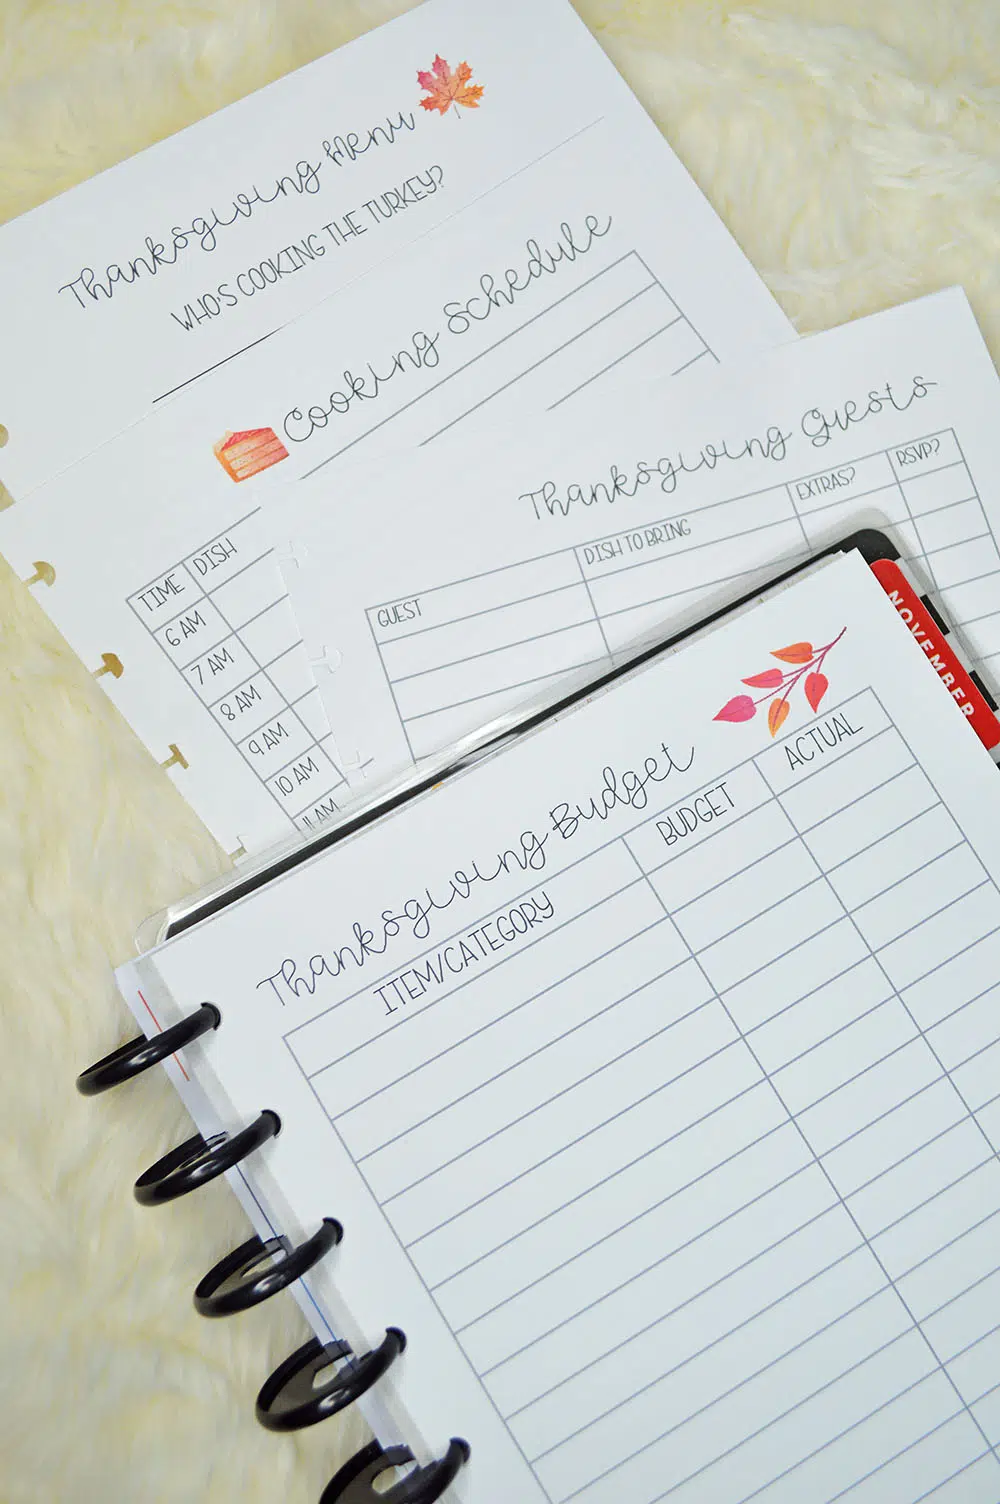
If you're a fan of using printables in your Happy Planner, you know how frustrating it can be when they don't quite fit. Whether you're trying to add a new dashboard or insert a fun design, resizing printables is a crucial skill to master. In this article, we'll show you how to resize printables for your Happy Planner, so you can make the most of your planning space.
Resizing printables can be a game-changer for your Happy Planner. By adjusting the size of your printables, you can create a customized layout that suits your needs and style. For example, you can resize a printable to fit a specific page or create a mini-version to use as a sticker. The possibilities are endless, and with the right techniques, you can unlock a world of creative possibilities.
How to Resize Printables
Why Resize Printables? Resizing printables allows you to tailor your Happy Planner to your unique needs and preferences. Whether you want to add more space for notes or create a visually appealing layout, resizing printables gives you the flexibility to do so. Additionally, resizing printables can help you save paper and reduce waste, making it a more sustainable option for planner enthusiasts.
How to Resize Printables To resize printables for your Happy Planner, you'll need a few basic tools, including a computer, printer, and planning software. Start by selecting the printable you want to resize and adjusting the settings to fit your desired size. You can use a variety of software programs, such as Adobe Acrobat or Microsoft Word, to resize your printables. Once you've resized your printable, simply print it out and add it to your Happy Planner. With these simple steps, you can create a customized and functional planner that brings you joy and helps you stay organized.