A Beginner's Guide to Using Printable Vinyl with Cricut


Getting Started with Printable Vinyl
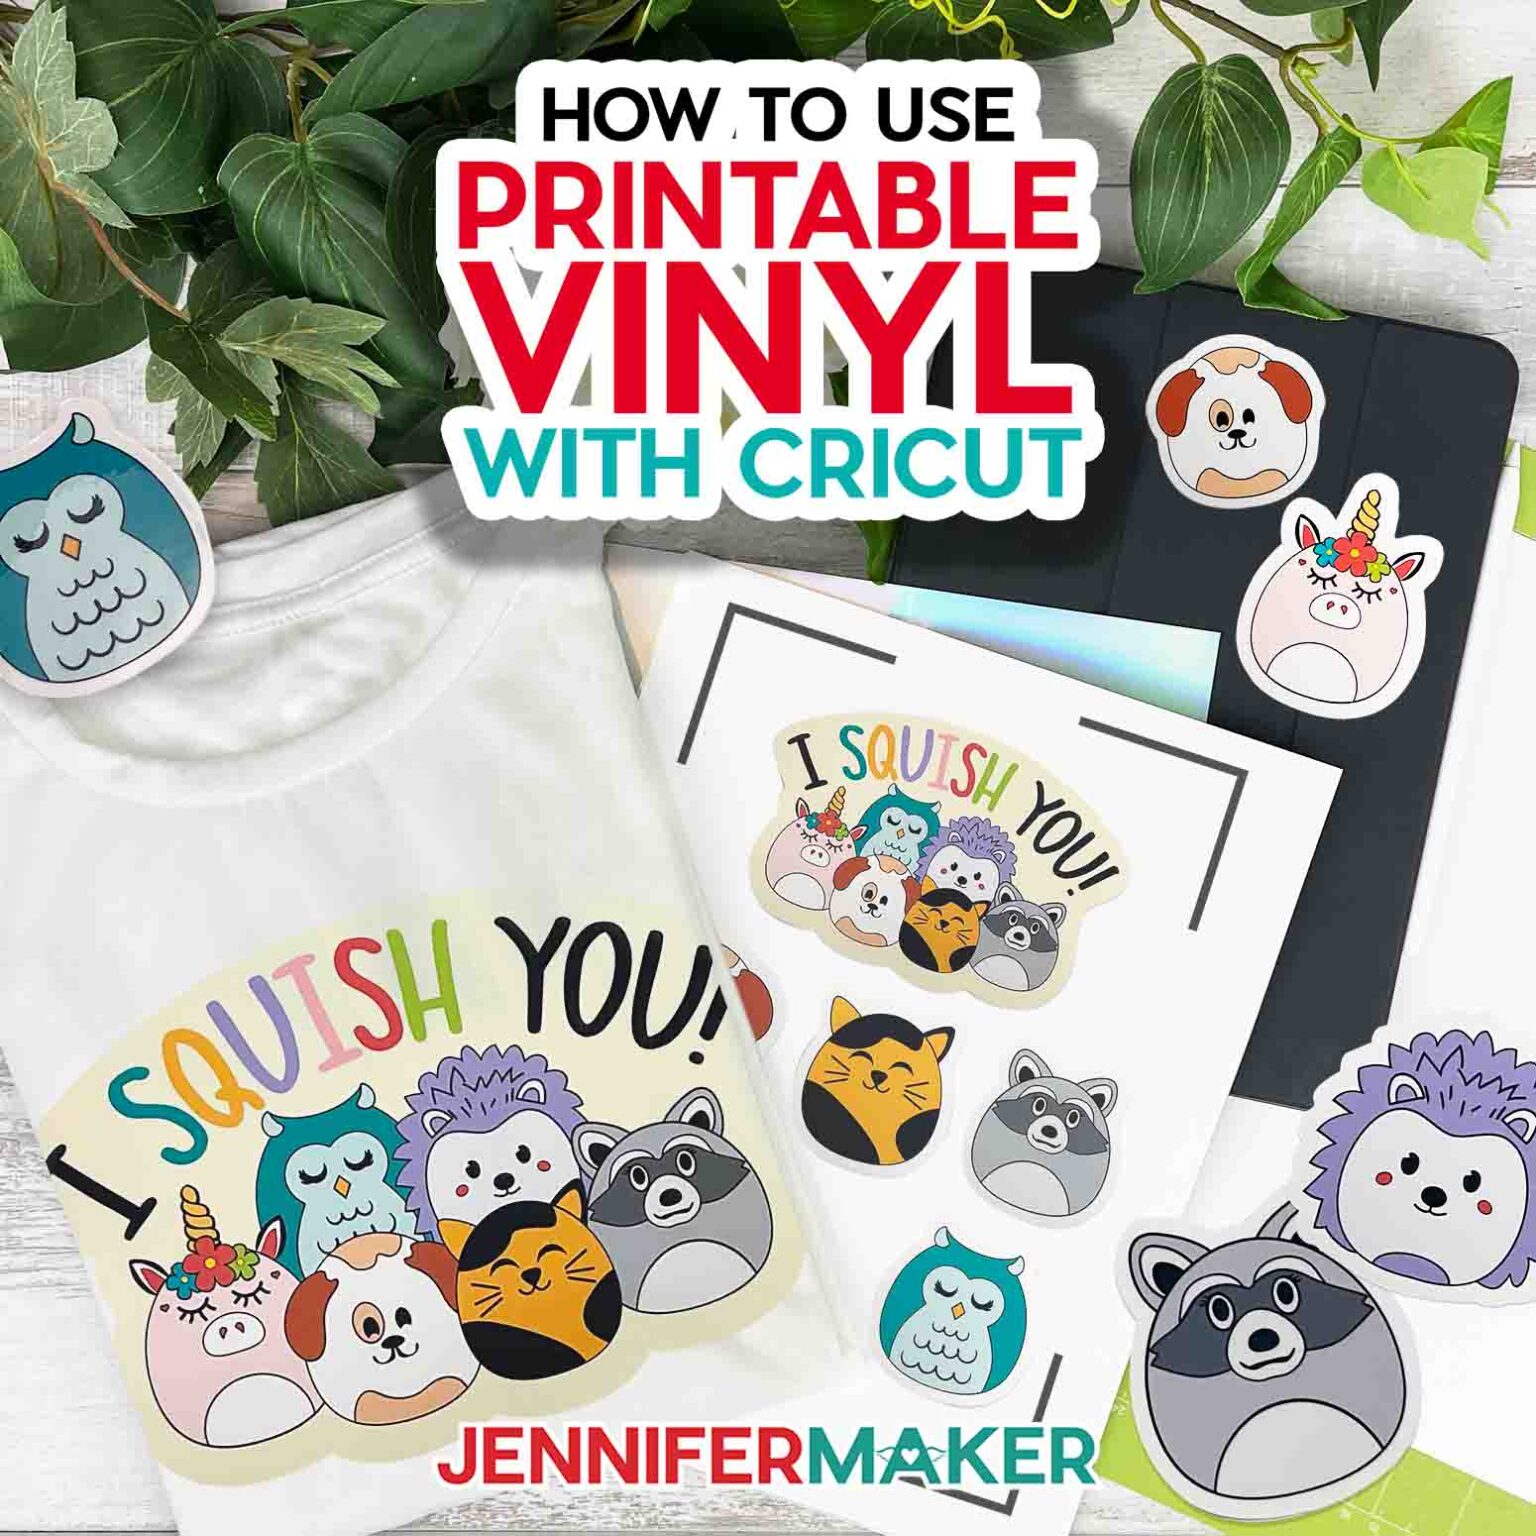
If you're new to the world of Cricut crafting, you might be wondering how to use printable vinyl. This versatile material allows you to create custom designs, decals, and more with your Cricut machine. In this article, we'll take you through the basics of using printable vinyl and provide you with some helpful tips and tricks to get you started.
To begin, you'll need to purchase printable vinyl specifically designed for use with your Cricut machine. This type of vinyl is usually sold in sheets or rolls and comes in a variety of colors and finishes. Once you have your vinyl, you can design your project using the Cricut Design Space software or other design programs. Simply upload your design to the software, select the printable vinyl setting, and send it to your Cricut machine for cutting.
Tips and Tricks for Working with Printable Vinyl
When working with printable vinyl, it's essential to follow a few basic steps to ensure your project turns out correctly. First, make sure your Cricut machine is set to the correct settings for cutting printable vinyl. You'll also want to use a weeding tool to remove excess vinyl from your design. This will help prevent air bubbles and ensure a smooth finish. Additionally, be sure to apply transfer tape to your design to make it easier to apply to your desired surface.
With a little practice, you'll be creating amazing projects with printable vinyl in no time. To take your projects to the next level, try experimenting with different colors and finishes. You can also use printable vinyl to create custom decals for your car, laptop, or water bottle. Just remember to follow the manufacturer's instructions for application and removal to ensure your design lasts. By following these tips and tricks, you'll be well on your way to becoming a printable vinyl pro and creating stunning custom designs with your Cricut machine.